

The most important thing on this page: please follow the 7 principles of Leave No Trace whenever hiking (and all the time, actually – most are pretty good general life tips, too):
- Plan ahead and prepare
- Travel and camp on durable surfaces
- Dispose of waste properly
- Leave what you find
- Minimize campfire impacts
- Respect wildlife
- Be considerate of other visitors
Now, on to the PR 1 hike. Here are the quick facts:
- Where: the island of Madeira, Portugal.
- More specifically, where: the trailhead is at Pico do Areeiro, slightly east of the island’s center.
- Distance and elevation: 5.2 miles (8.3 km) total with ~2,000 feet (610 meters) of total elevation gain.
- Highest point: 6,106 feet (1,861 meters) at Pico Ruivo.
- Why you should hike this trail: world-class dramatic scenery, varied sections, and lots of fun. Stairs, tunnels, railings, and rugged mountain views leading all the way to the ocean.
- Fee or permit? Yes – there is a timed reservation system as of 2026. Buy here.
- Best time of year: Madeira is a year-round destination, but September and October are arguably ideal for enjoyable weather and less crowds.
- Closest commercial airport: Madeira has 1 main airport (Funchal – FNC) for international and mainland Portugal flights.
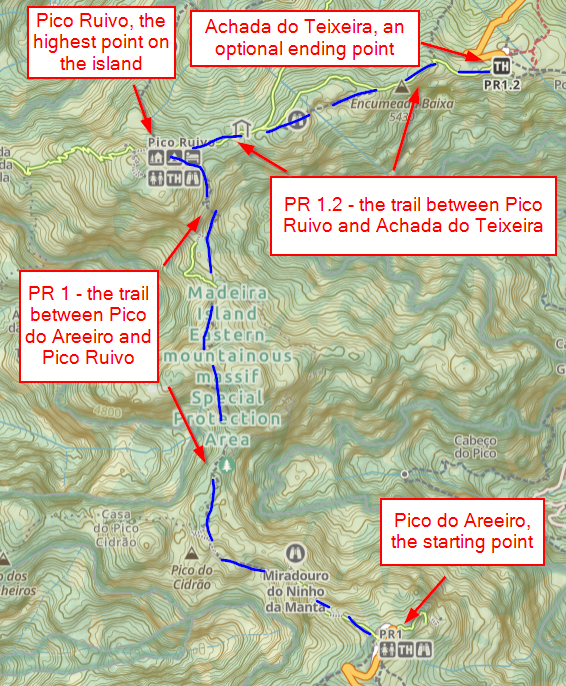
PR 1 Madeira can be a hard hike to figure out. Here's a breakdown of the key things to know:
Pico do Areeiro is the starting point. You can drive to it.
Pico Ruivo is the highest point on the island. This is the main "goal" of the trail, and you can only get to Pico Ruivo by hiking there.
PR 1 is the trail that connects those 2 points: Pico do Areeiro and Pico Ruivo. As of 2026, the trail is one-way and you must hike from Pico do Areeiro to Pico Ruivo.
PR 1.2 is the trail that connects Pico Ruivo to a different trailhead called Achada do Teixeira. After summiting Pico Ruivo, you'll need to head to Achada do Teixeira.
Tips to remember
- You have to pre-book and pay for your specific time slot online. There is no access at the trailhead and it is not included in any multi-day passes.
- This is much more difficult now that you have to buy a timed reservation, but try to give yourself multiple days for the hike if possible. The weather can change quickly and it may not be worth it if completely covered in clouds. Being able to choose the best day out of 2 or more will be very beneficial.
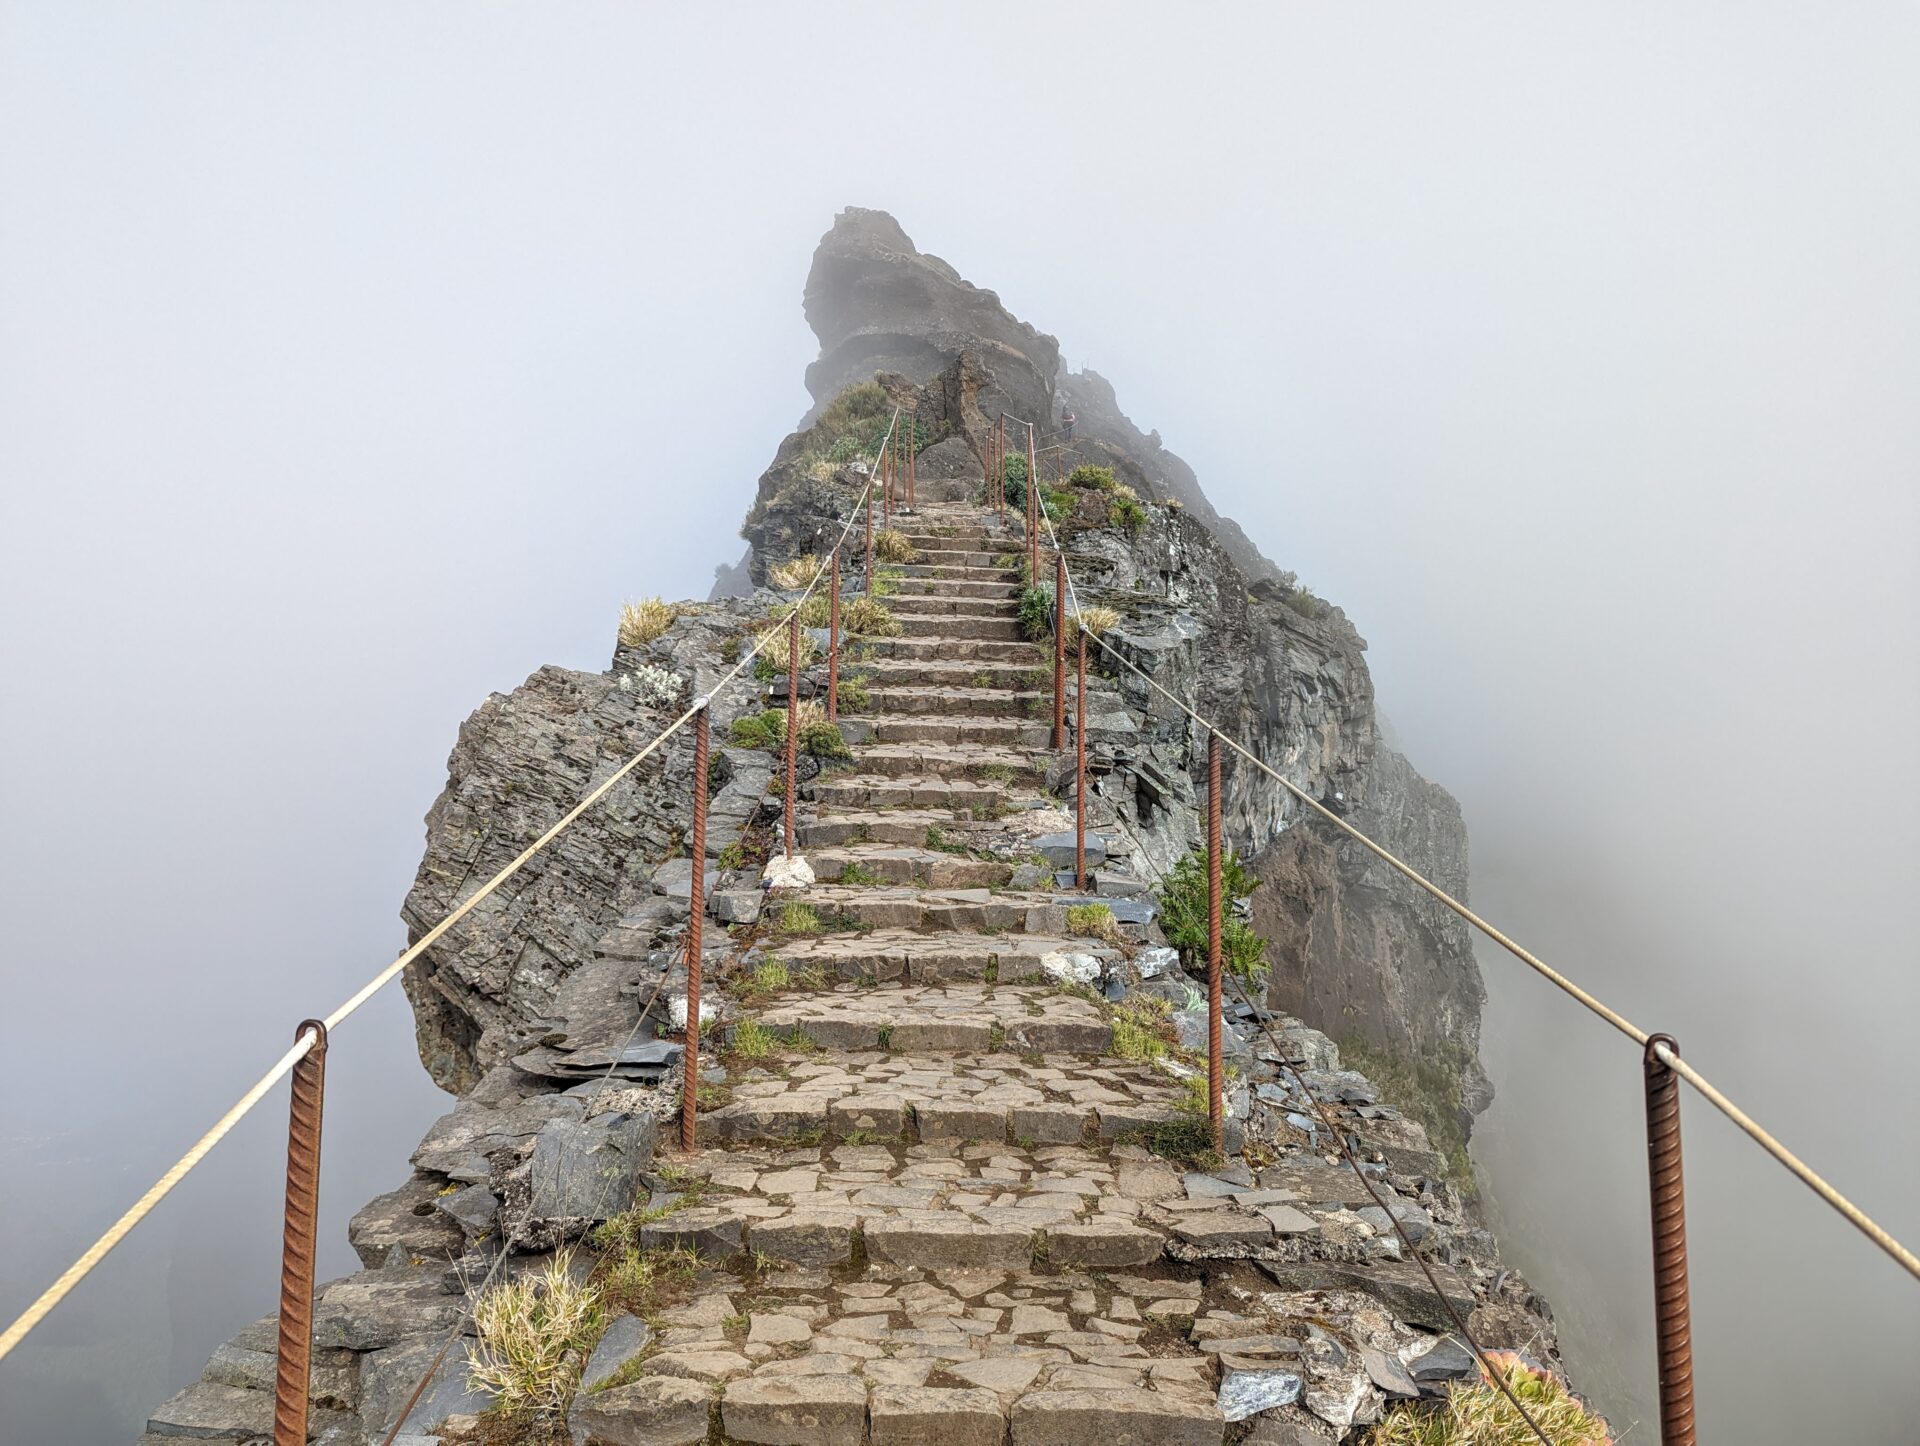
- The “stairway to heaven” is right by an area called Pedra Rija. It’s about 0.65 miles (~20-30 minutes from Pico do Areeiro) and you descend it first. You’ll never see it if you’re not coming back that way and don’t turn around.
- The “scariest” part of the hike, where the path is very narrow with drop-offs is not very scary. There are cables on both sides, and we didn’t even realize we were at the scary part until we were past it.
- There are 5 tunnels and you will need a light. Take a headlamp if you have one, or make sure you have enough battery or a power bank if your phone is going to be your flashlight and camera.
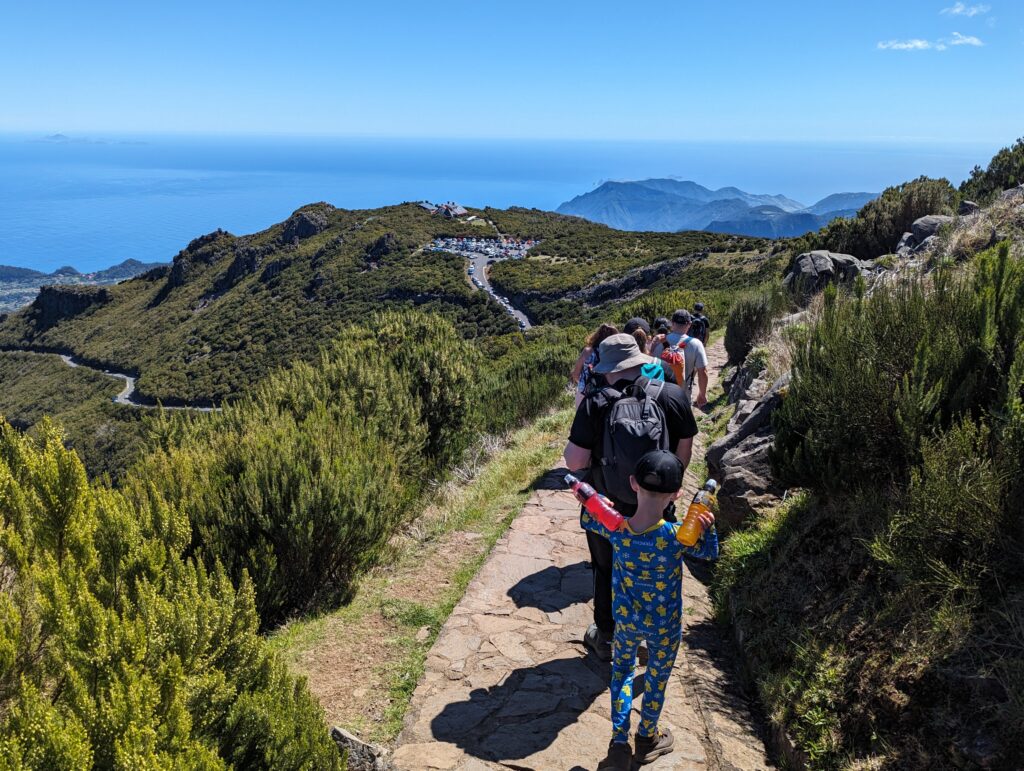
- If driving your own car, the parking lot is about 0.5 miles (0.8 km) downhill from Pico do Areeiro. Make sure to factor that in your estimated hiking distance and time.
- You could be in an insulated jacket, hat, and gloves at sunrise and burning up a few hours later in the exposed sun. Pack accordingly (rain jacket is a great idea for rain and/or wind) and bring layers.
- There are bathrooms, snacks, and drinks at Casa de Abrigo, the hut just before the final ascent to Pico Ruivo. However, it might be closed if you pass it very early or late.
- You may see Pico do Areeiro spelled Pico do Arieiro. I chose to spell it Areeiro because that’s how it is spelled on the island.
Figuring out transportation
Pico Transfers and Do It Madeira offer sunrise and morning round-trip transportation for the one-way PR 1 Madeira hike. They pick you up from your hotel in Funchal; drop you off at Pico do Areeiro; pick you up at Achada do Teixeira ~5 hours later; and take you back to your hotel. This is a great option for the following reasons:
- You don’t have the extra mile to/from the lower parking lot since you get dropped off right at the beginning.
- You don’t need a rental car.
- You get to relax on the way to and from the hike. The roads are windy, steep, and narrow and not the most fun to drive.
- If starting early, the only people you’ll encounter on the way to Pico Ruivo will be those going the same direction as you.
I know people will park their car at Pico do Areeiro, hike this route, and rely on getting a taxi at Achada do Teixeira. There are plenty of success stories with that plan, but I wouldn’t want to take a chance of getting price-gouged, having to wait a long time for a taxi, or not being able to get a ride back to Pico do Areeiro at all.
Our experience with Pico Transfers
Our twins were 8 when we went to Madeira (read our full Trip Report here) and we booked the sunrise option through Pico Transfers for all 4 of us.
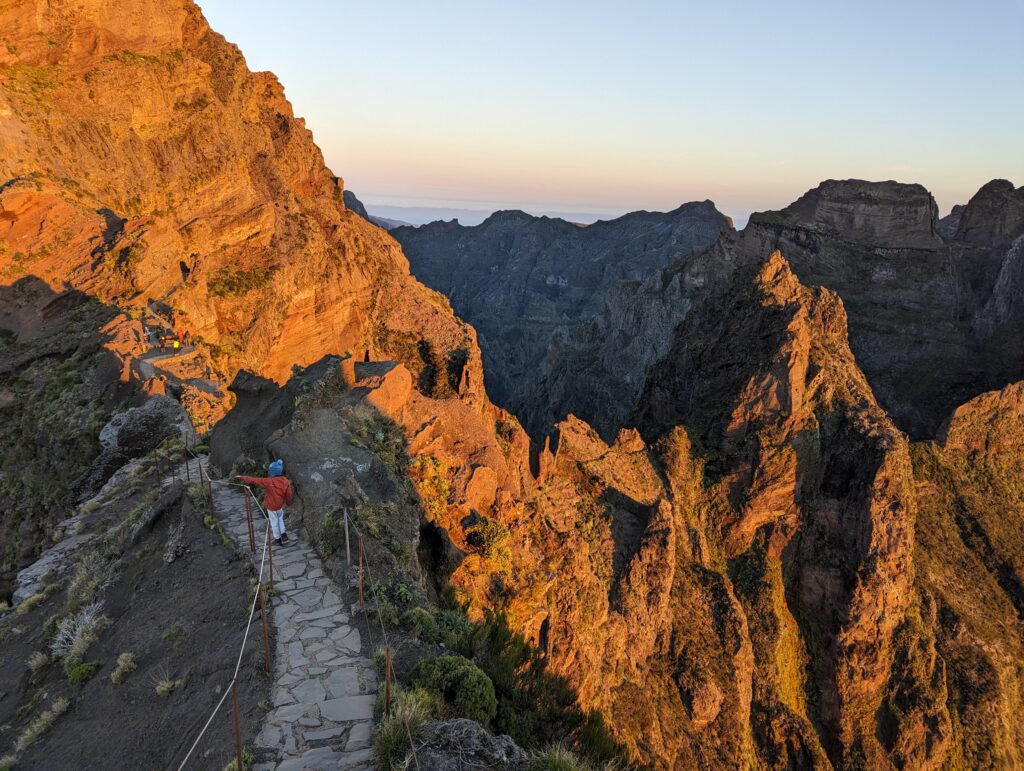
Our daughter was sick for most of our time on Madeira, unfortunately. So, my wife and son did the sunrise hike while I stayed back with our daughter. They completed the Pico do Areeiro > Pico Ruivo > Achada do Teixeira route in just under 4 hours and our son had no issues. They also had a great experience with Pico Transfers.
Note that I did Pico do Areeiro > Pico Ruivo > Pico do Areeiro by myself as an out-and-back later that day. That’s no longer an option due to the one-way trail. However, I wanted to include that detail because that’s why some of the pictures have starkly different weather and lighting.
Alternate option
Achada do Teixeira > Pico Ruivo > Achada do Teixeira
3.4 miles (5.5km) RT with 1,200 feet (365 meters) elevation gain.
So, this isn’t PR 1 and I would not even consider it as an option. However, if you only care about summitting the highest point on the island, this is the quickest and easiest way to do it. This trail, PR 1.2, allows two-way hiking. However, you’ll miss PR 1 entirely, which is the best part.
Getting There
The hike starts at Pico do Areeiro, about a 45-minute drive north of Funchal. Pico do Areeiro is a destination itself. It is the third-highest point on the island, fully accessible, and has great views just steps from the upper parking lot. That upper parking lot is for handicapped visitors and those staying less than 1 hour only – do not park there if doing the hike.
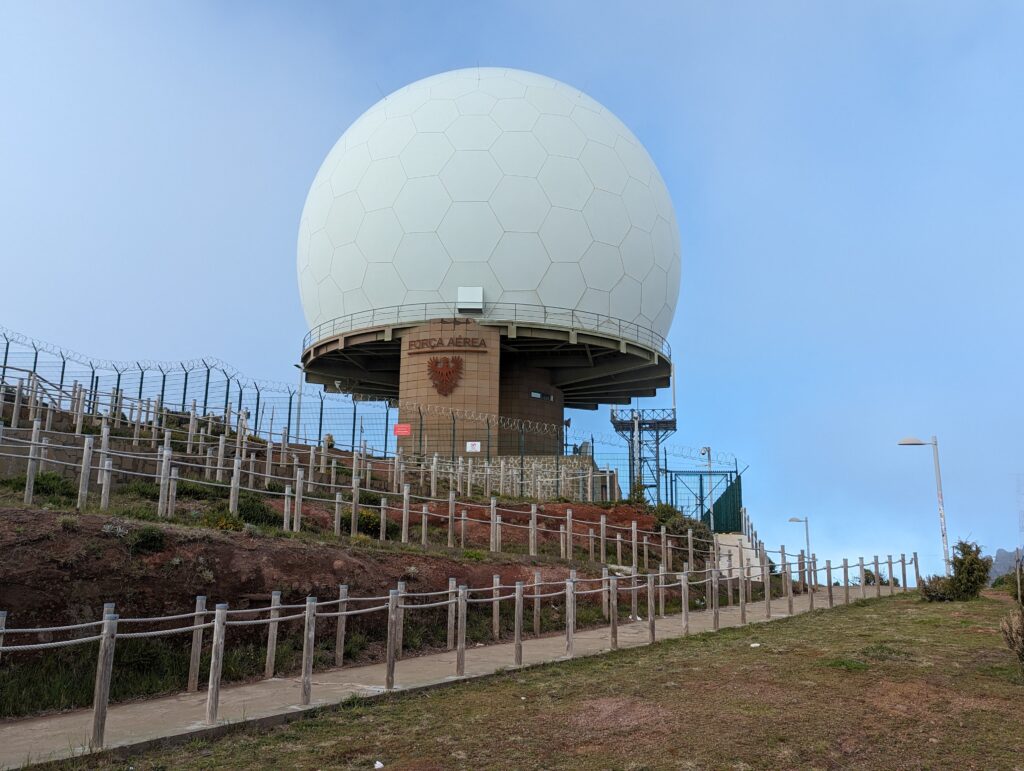
The lot where day hikers need to park is 0.5 miles before the upper parking lot and labeled “Parque de Pico do Areeiro” on Google Maps. This is an incredibly popular hike, especially for sunrise. Parking and traffic can be a disaster and there’s a good chance you’ll see a full lower lot and parked cars lining both sides of the road leading to Pico do Areeiro. Getting there well before sunrise, later in the day, or dropped off is best.
Pico do Areeiro to Casa de Abrigo, the hut just before Pico Ruivo
The hike starts off with a gentle stroll along a wide path. Don’t get too used to that, however, as it’s not long before you start the first of many, many stairs going down. Most of the them are made of stone. Not everything is down though; you will have some stairs going up, too.
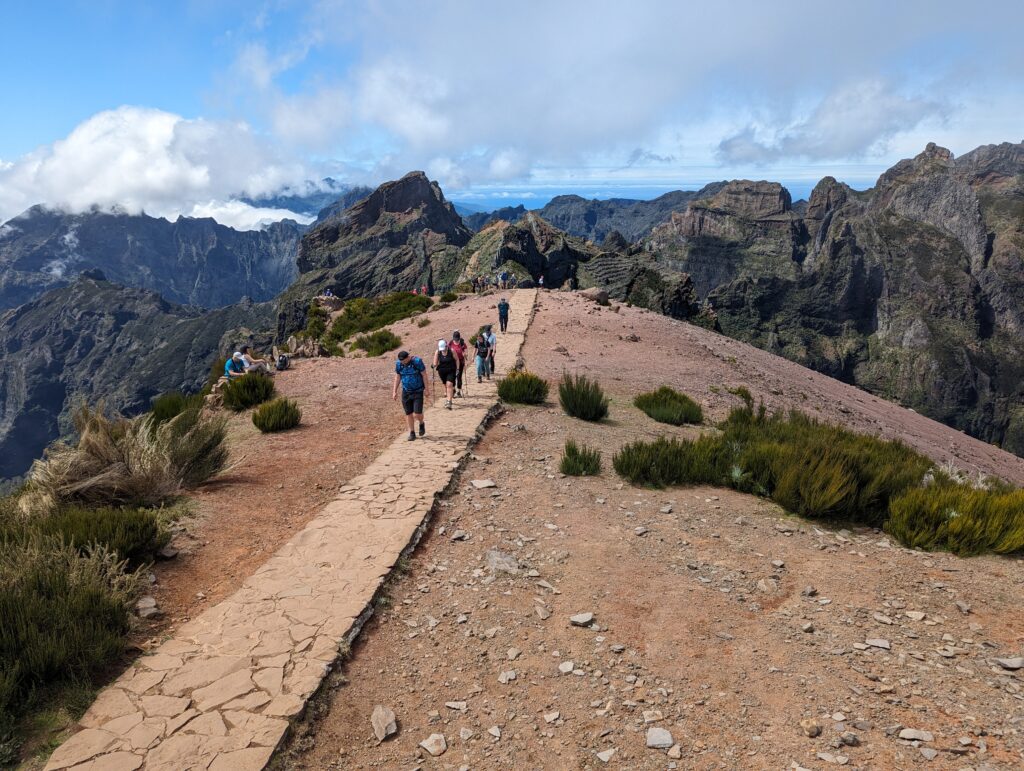
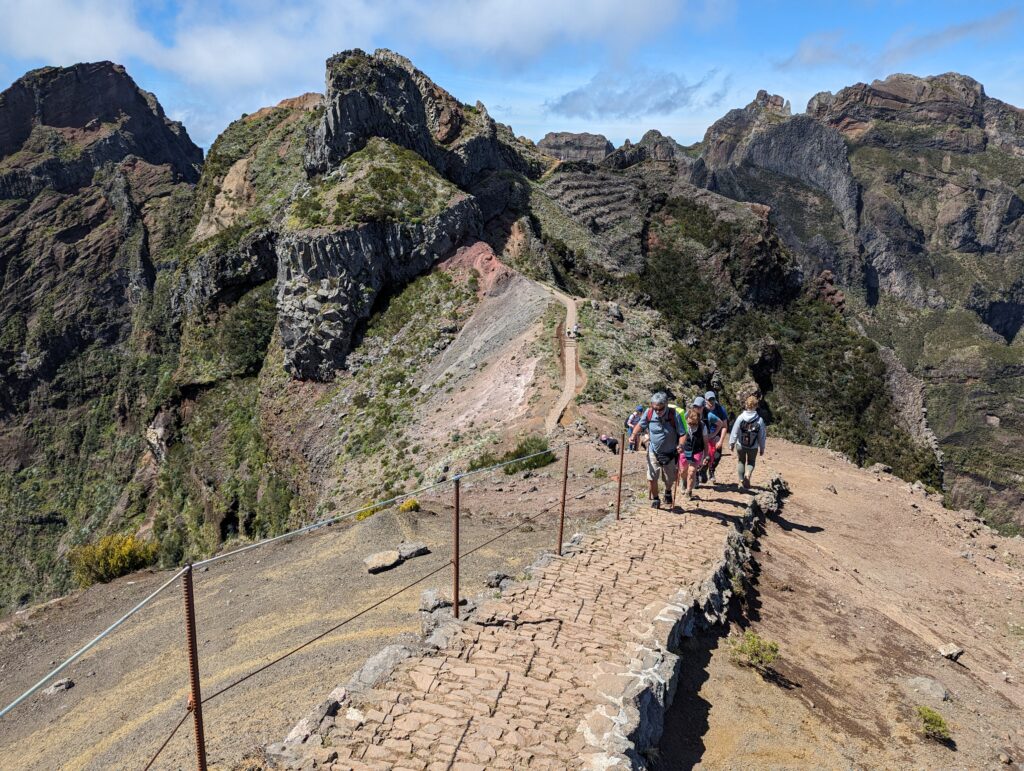
After 0.4 miles, the trail will make a sharp turn to the left. However, there is a signed overlook to the right called Miradouro do Ninho da Manta. This is a very quick detour, and I don’t know if it’s actually worth it because it’s so close to the actual trail and the view isn’t much different.
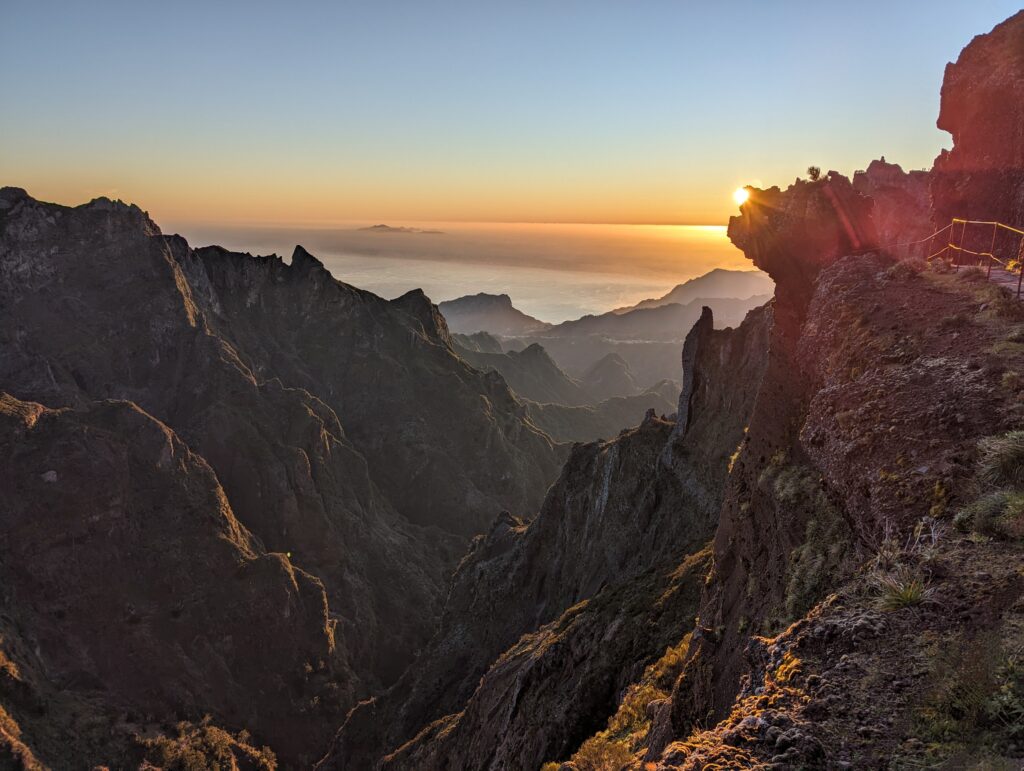
If you’re doing the sunrise hike, you’ll want to get started at first light and watch the sunrise from this area. You will not be alone, however, as many people with cameras will be set up and waiting.
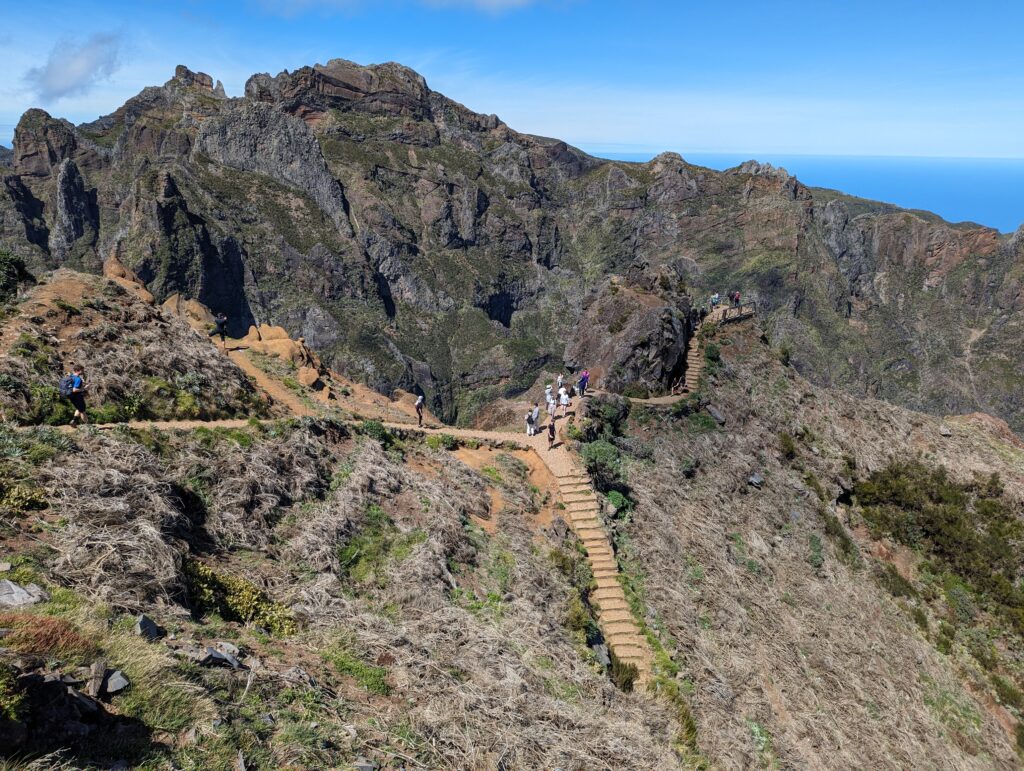
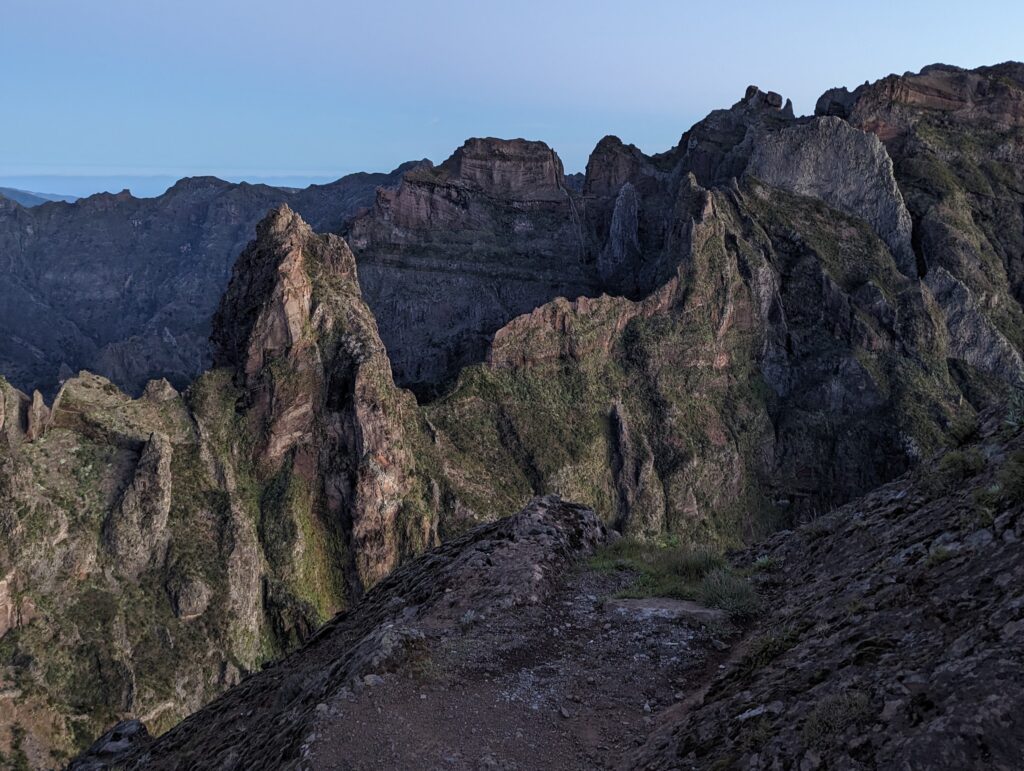
The Stairway to heaven
About 0.25 miles after that is the “stairway to heaven.” You go down it, so you won’t get the view you’ve seen online and may not even know you’ve done it unless you turn around. If you get to the narrow part with this view in front of you, you’ve just descended the stairway.
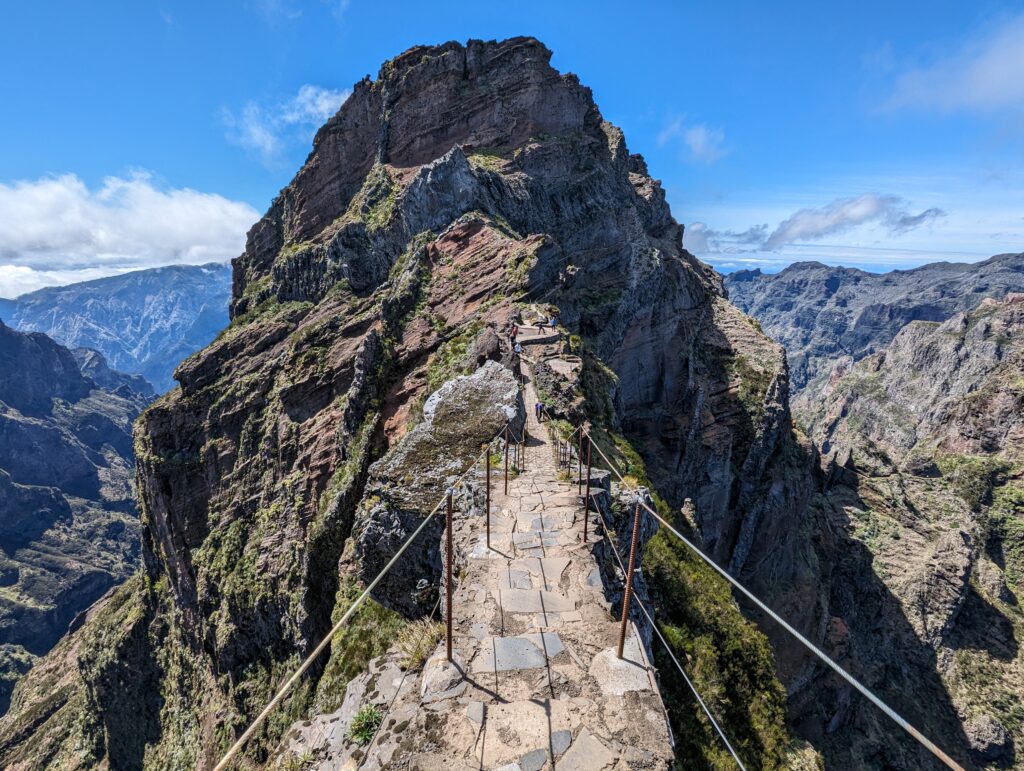
Turn around! The staircase is immediately behind you.
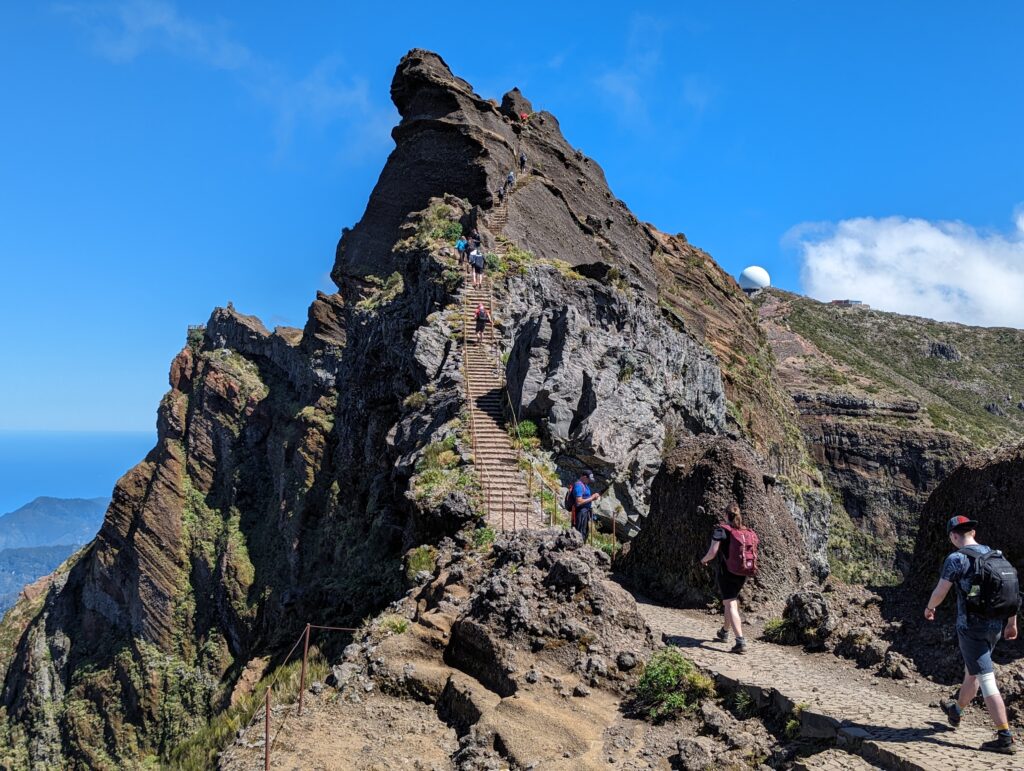
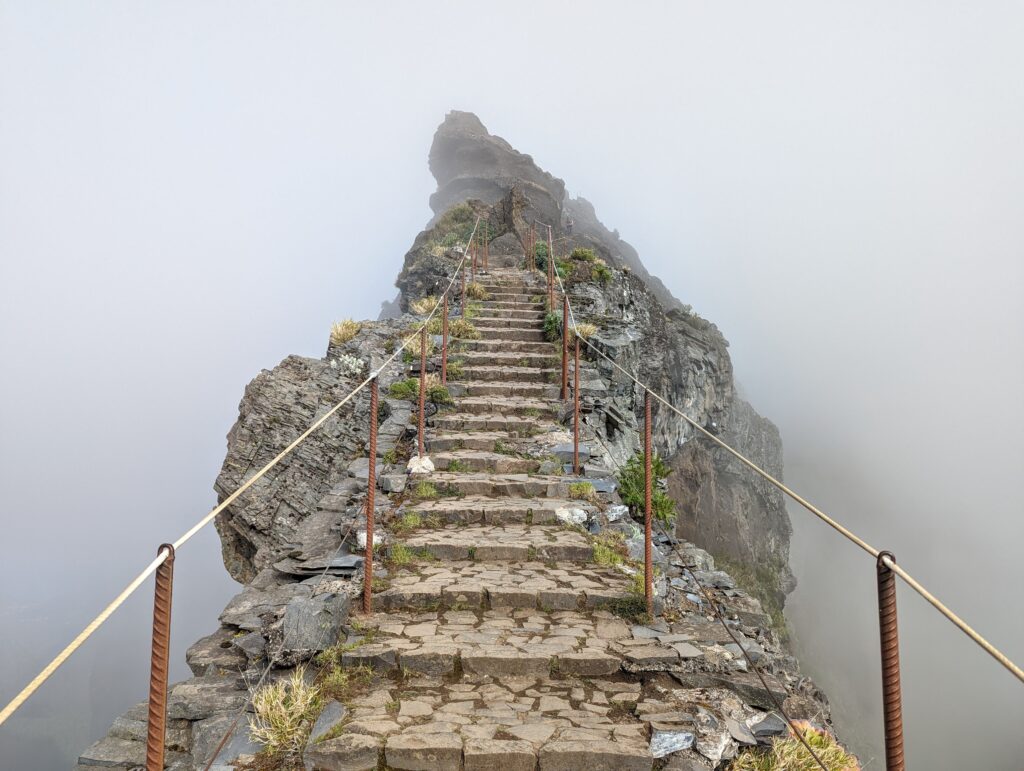
After descending the stairs but before going across the narrow part, you may want to wait a little to see if you can get a picture of the amazing view in either direction without many other people.
That narrow part right after descending the stairway to heaven is not that bad. Some people may find it a little scary as there are drop-offs on either side of a 2-foot path. However, there are wires on both sides and pictures and videos make it look scarier than it really is.
The tunnel section
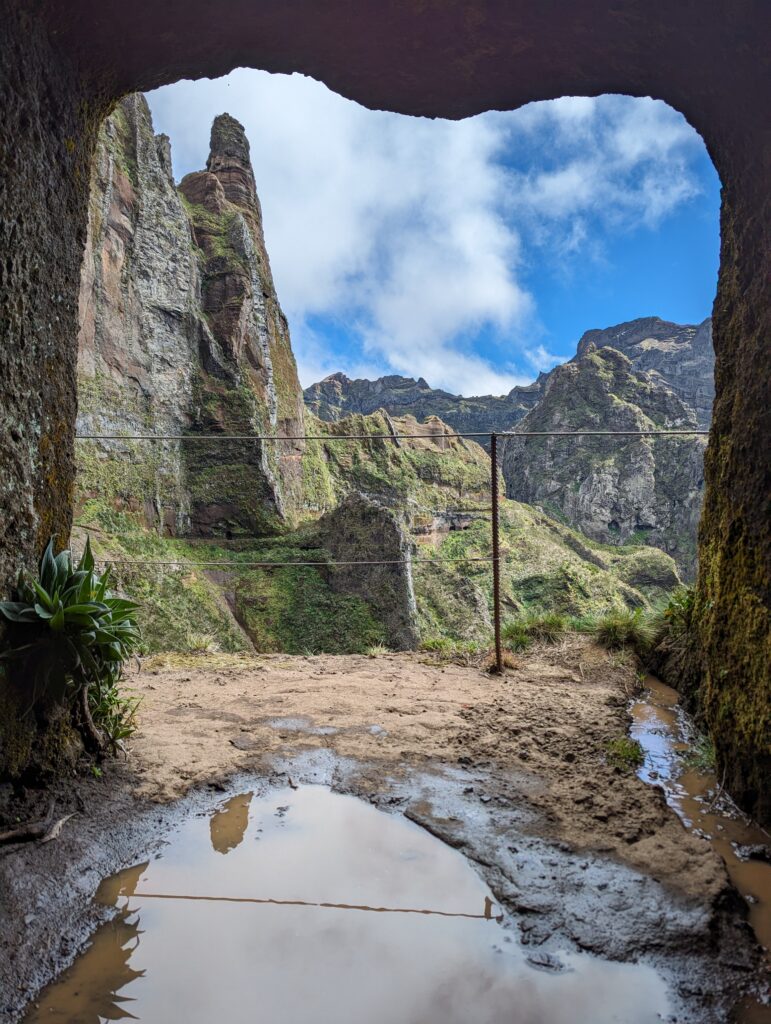
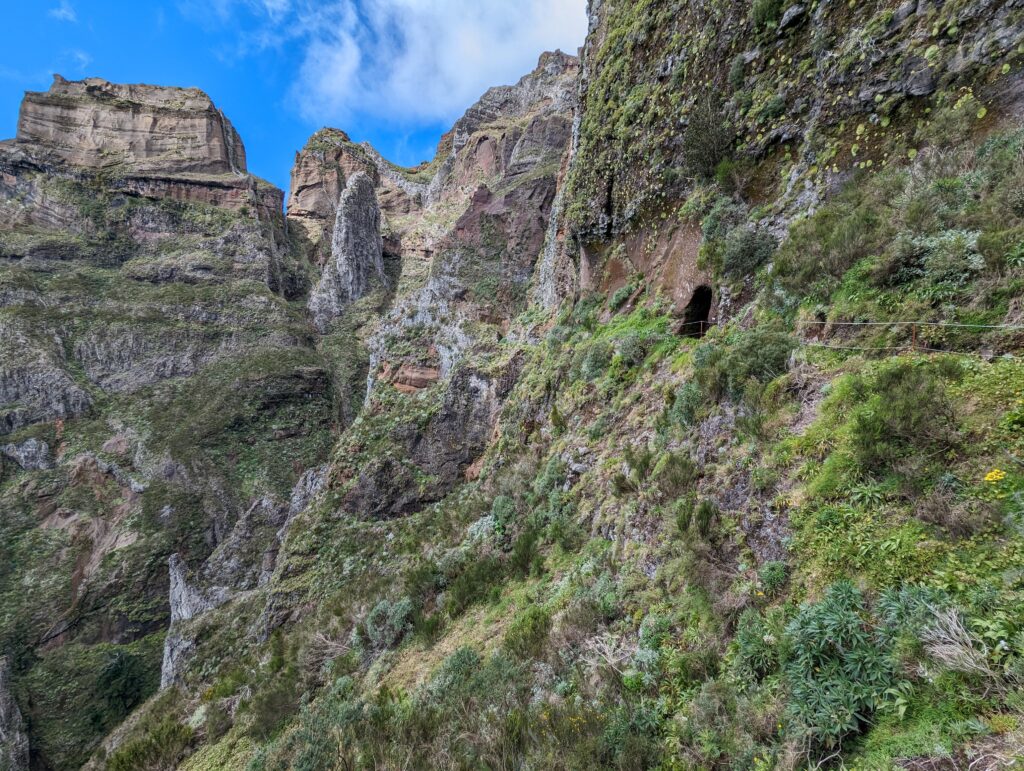
After crossing the narrow section, the trail hugs and curls around the side of the peak while continuing to descend. Almost exactly 1 mile from Pico do Areeiro is the first of 5 tunnels. You’ll need a light source and there may be some puddles. Try not to hit your head.
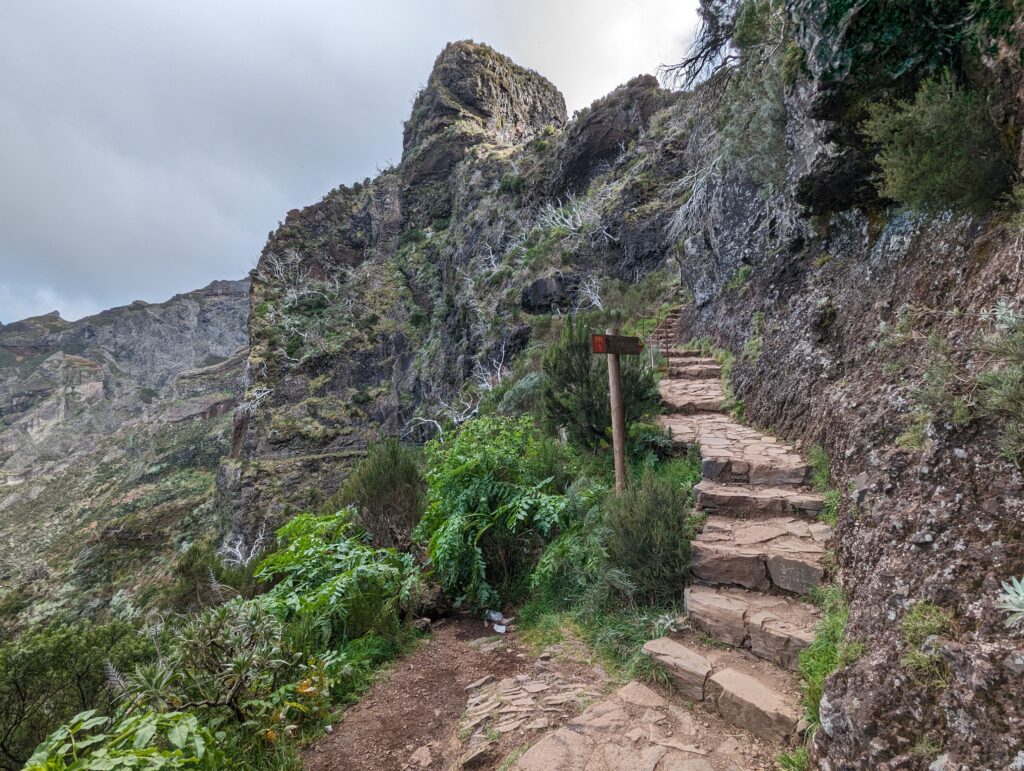
Just after that first tunnel, and just over 1 mile from Pico do Areeiro, was a trail sign. I am not certain if it’s still there after the trail maintenance following the 2024 wildfire. There was an overgrown, closed trail that went to the right. You shouldn’t really be confused on which way to go, but the sign was there to make sure you stay on the correct path. I included a picture in case it still is there.
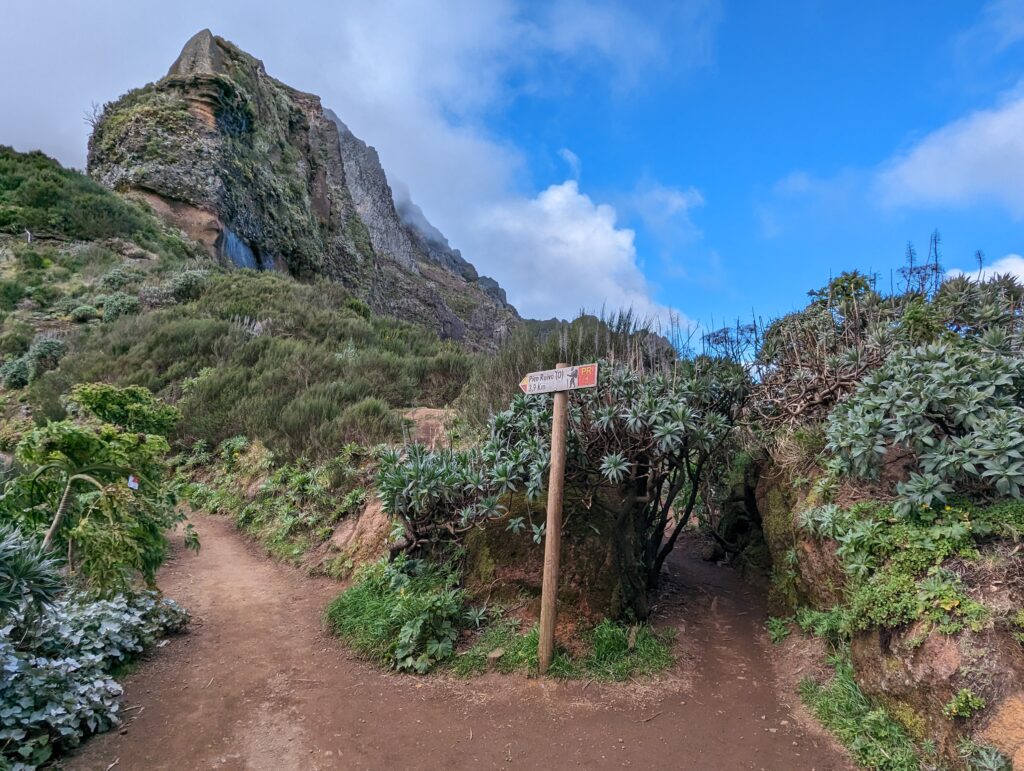
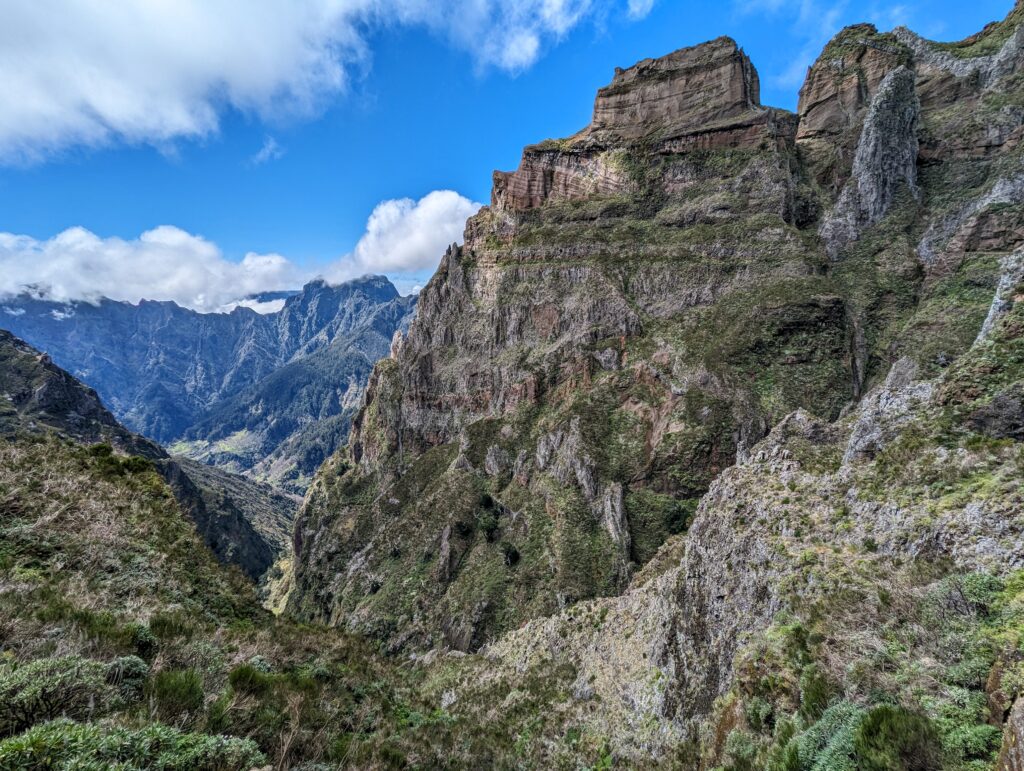
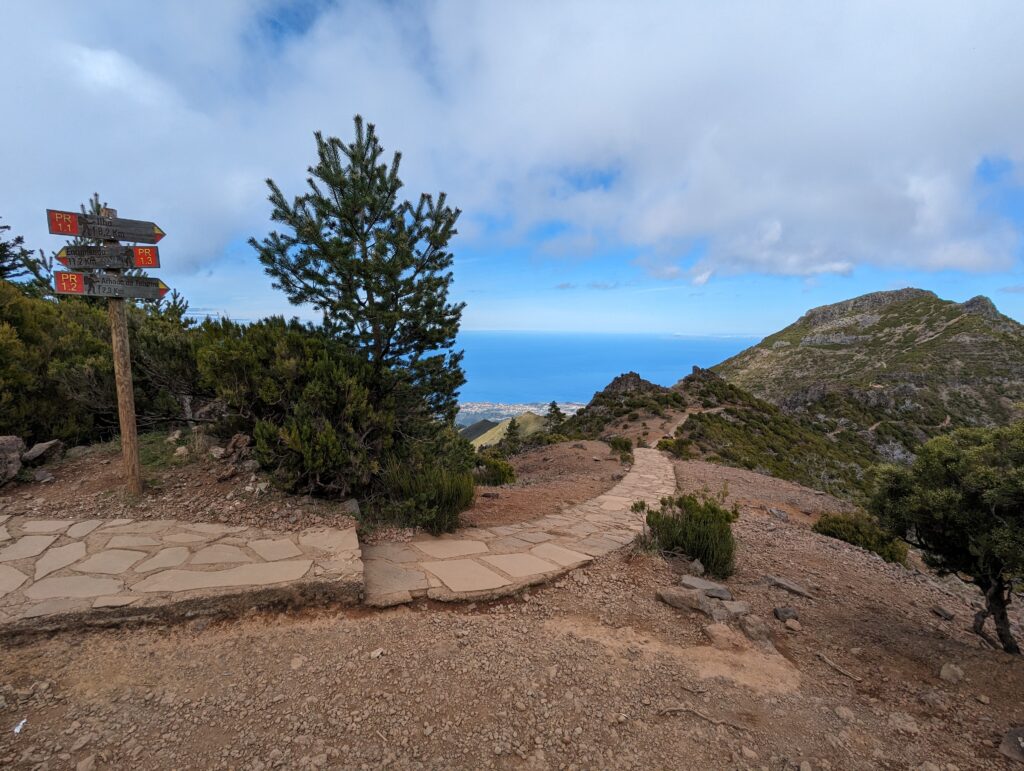
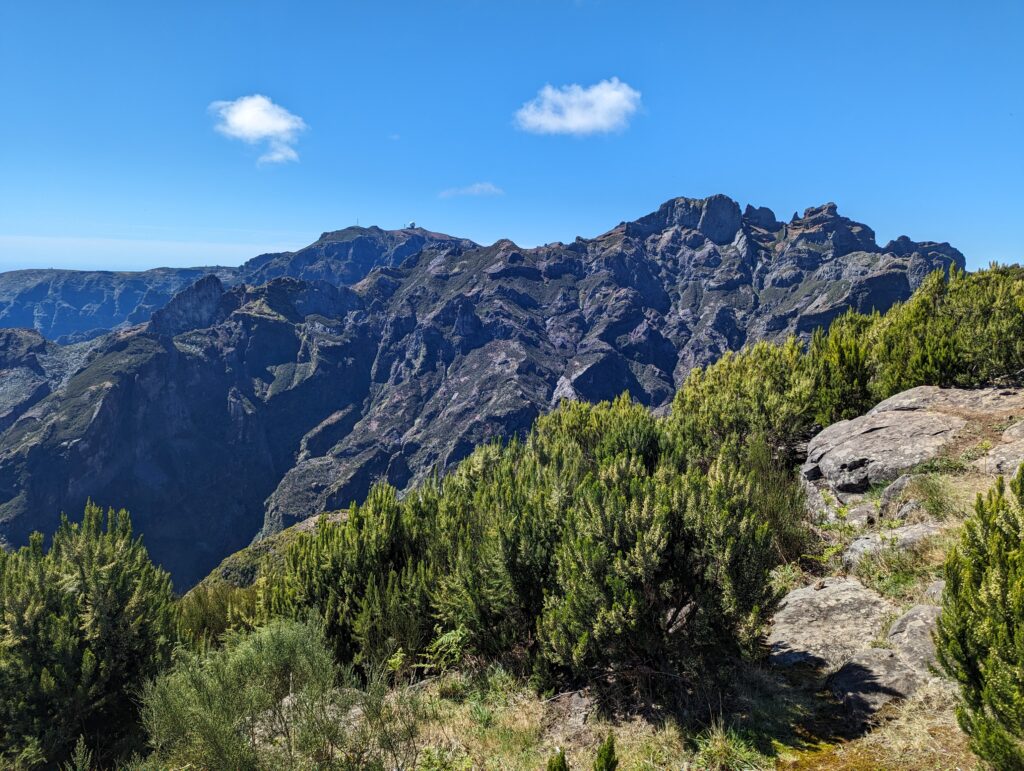
While the first mile was more interesting with the stairs and elevation loss, this part is pure mountain bliss. There are a few stair sections but you can move pretty quickly between the tunnels if there aren’t a lot of people. The views are jaw-dropping. Make sure to turn around often! Especially when you enter a tunnel – turn around to see what it would look like coming out of it. There are also more trail signs (examples below) that help keep you going the right direction.
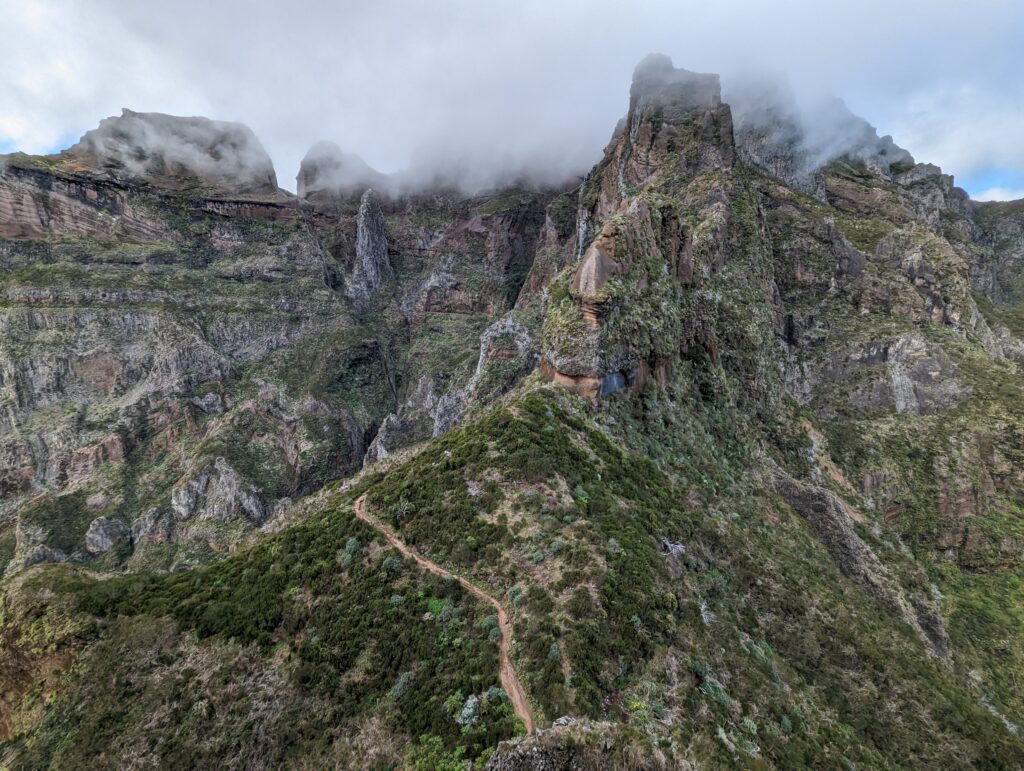
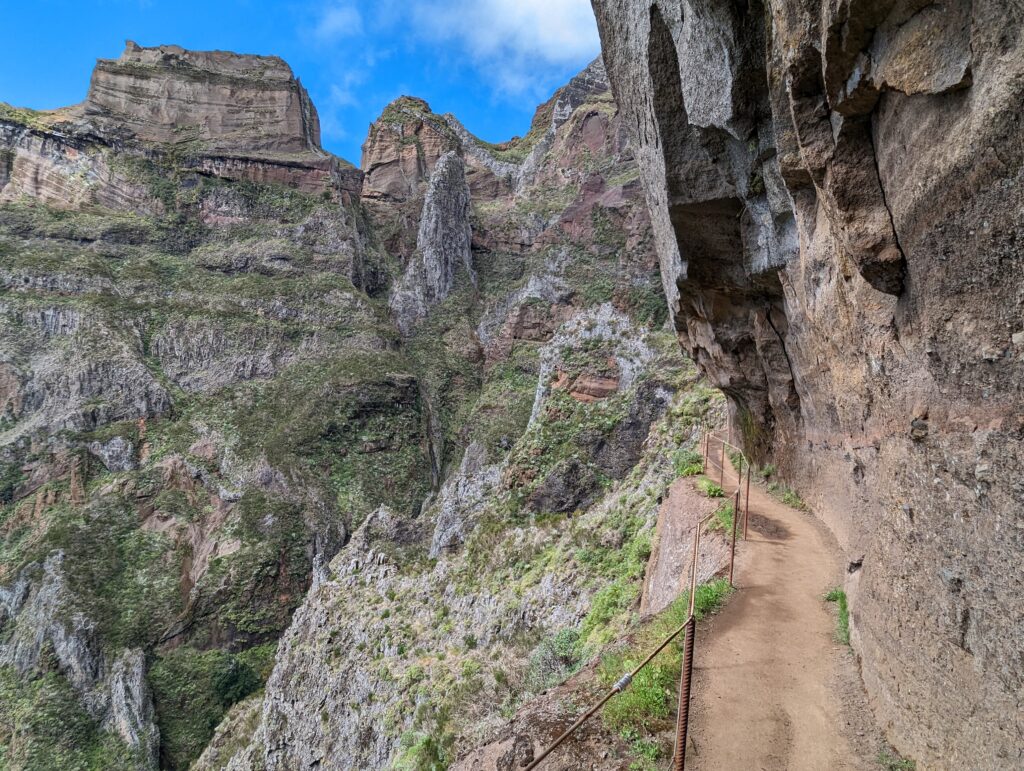
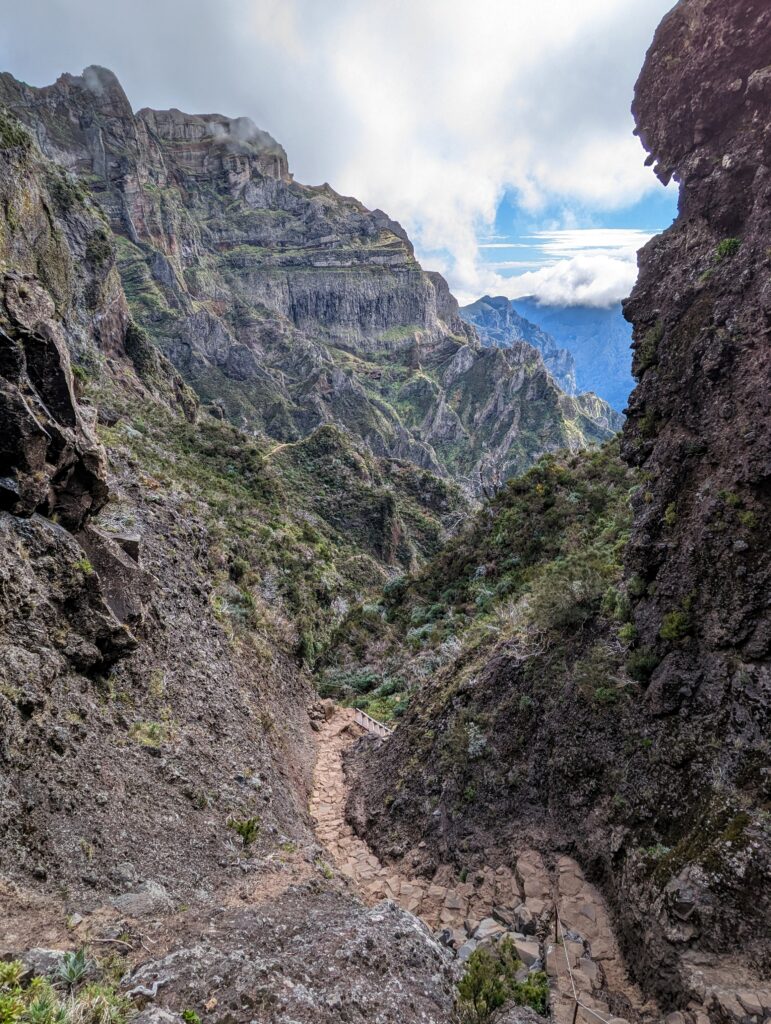
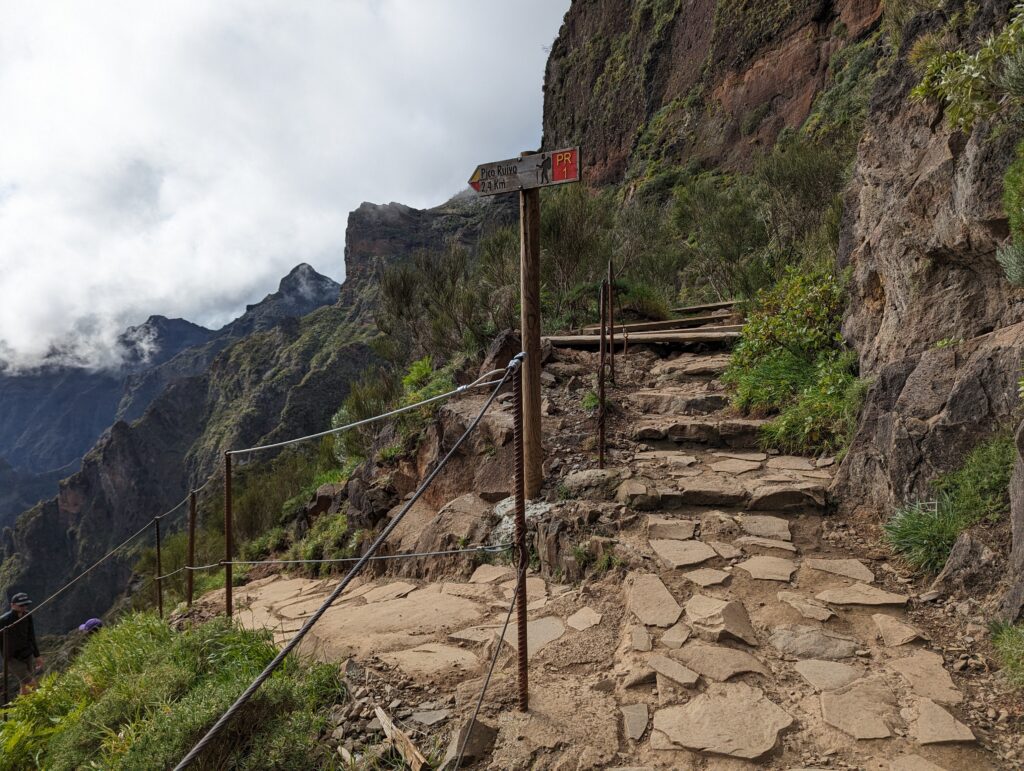
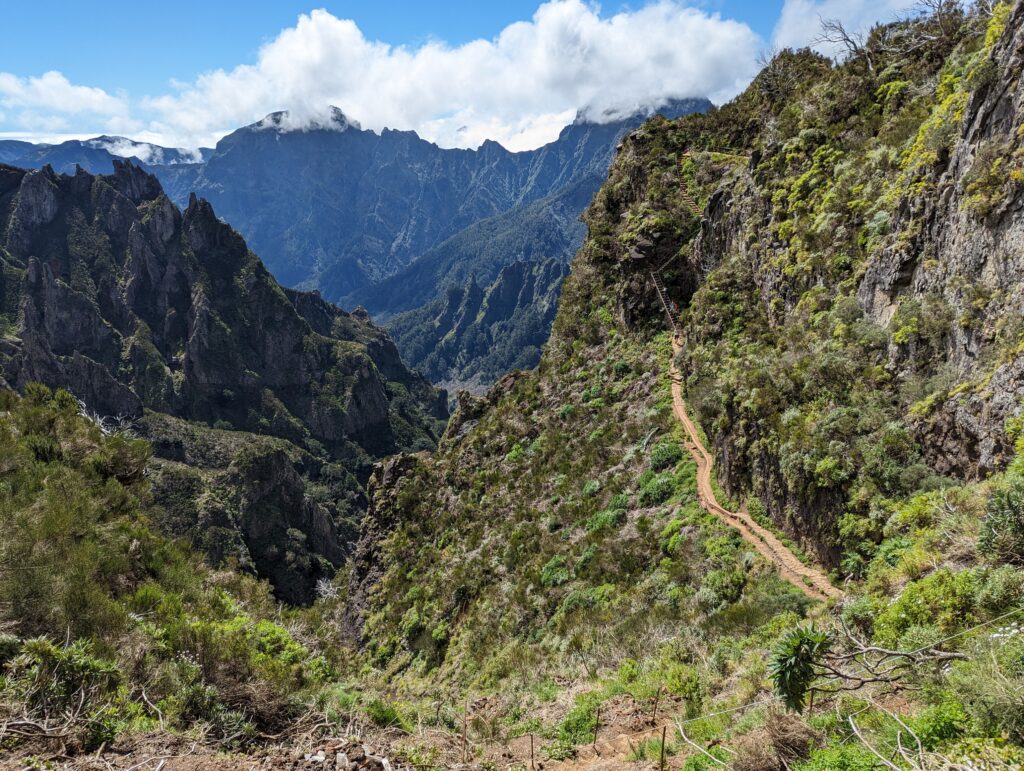
Eventually you’ll come to some metal stairs going up. Those essentially mark the start of the ascent. There are some sections with stone steps and others with steep metal ones. After gaining steadily, you’ll (a bit annoyingly) lose about 200 feet during a descent. Then come the switchbacks. They will take you about 800 feet up in 0.6 miles. This is a tougher stretch, but the views are still great and the hut will eventually come into view.
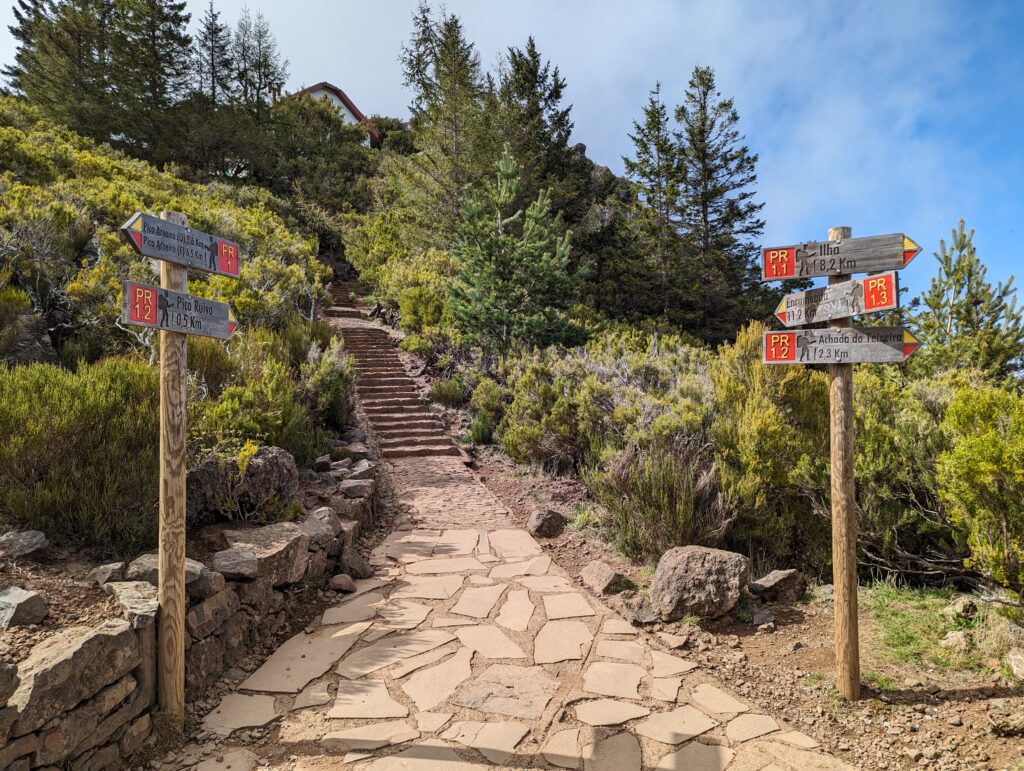
The trail to Achada do Teixeira is clearly marked on the right just before the hut. Once you get to Casa de Abrigo, you can pay for drinks, snacks, and to use the toilet. The hut could be closed in the very early or later hours, however. I bought a drink, went to the bathroom, and followed the signs to Pico Ruivo.
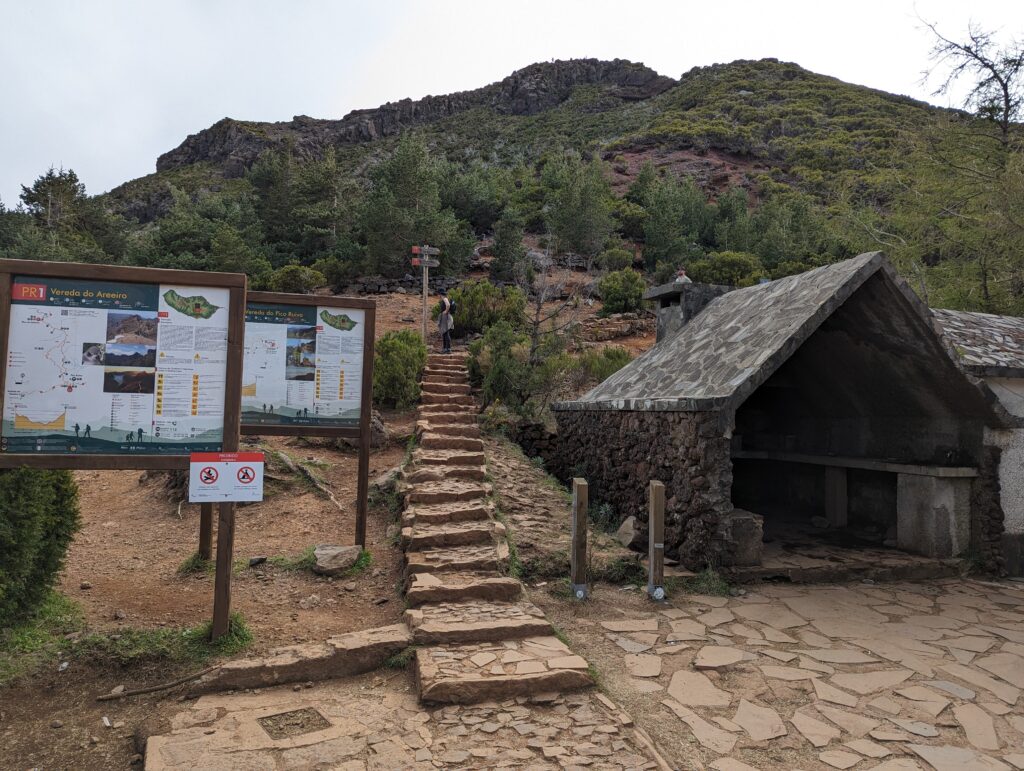
Casa de Abrigo to Pico Ruivo summit
Only 0.4 miles and about 200 feet of elevation gain remain! The trail winds around in a counter-clockwise direction and you’ll have more switchbacks and stairs. It is very straightforward and you should be at the summit in ~15 minutes. There are several areas to take a seat and admire the views from the highest point on the island, Pico Ruivo.
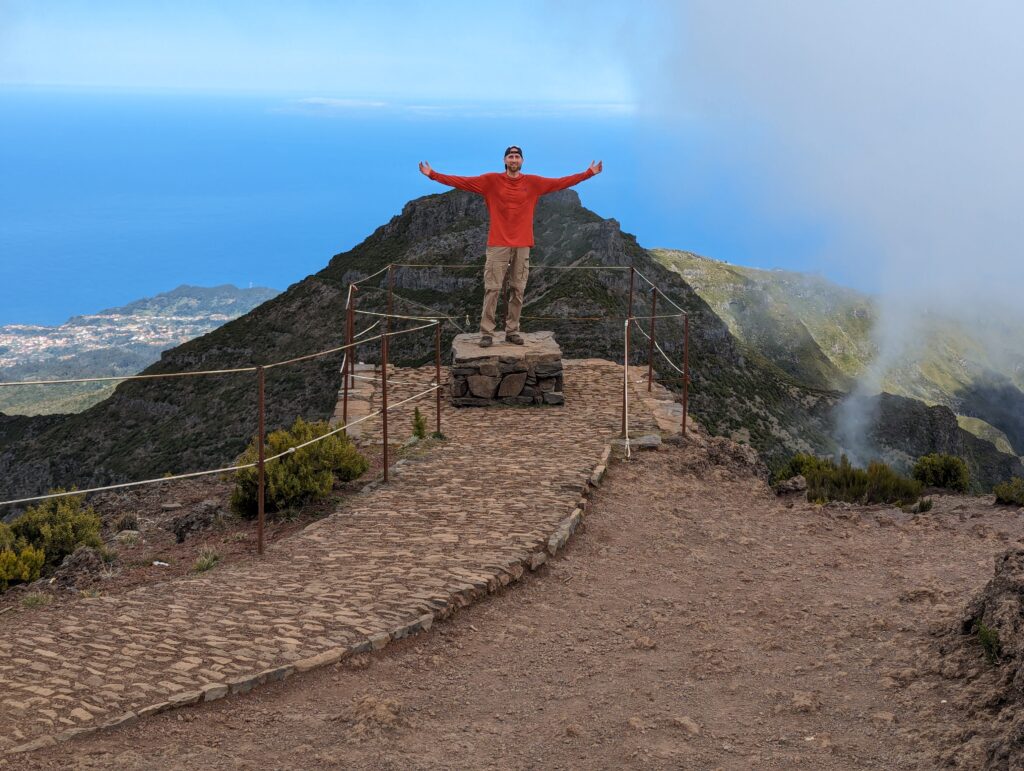
Clouds covered the interior, unfortunately, but views to the coast were clear. I had the furthest viewpoint all to myself and spent about 10 minutes there enjoying a snack I brought and the drink I purchased at the hut.
Descending to Achada do Teixeira
After getting back to Casa de Abrigo, take the clearly-marked trail which will now be on the left. There really isn’t much to detail about the route. Aside from one small section of incline, it’s a relatively easy downhill stroll all the way to Achada do Teixeira. The views are nice, but don’t compare to those along PR 1.
That’s it! Have you ever done PR 1 or have any questions? Leave a comment below!
Everything I’m reading now says out and back is NOT an option. Is that correct? The only option is your “option 2” starting at Areeiro and ending at texeira, correct?
You are correct. The guide has been updated to reflect the new one-way traffic and I sincerely apologize for the oversight.