If you take away nothing else from this page: please follow the 7 principles of Leave No Trace whenever hiking (and all the time, actually – most are pretty good general life tips, too):
- Plan ahead and prepare
- Travel and camp on durable surfaces
- Dispose of waste properly
- Leave what you find
- Minimize campfire impacts
- Respect wildlife
- Be considerate of other visitors
Now, on to the Enchantments hike. Here are the quick facts:
- Where: Alpine Lakes Wilderness, Washington
- More specifically, where: Stuart Lake Trailhead in Leavenworth. More on this below.
- Distance and elevation: depends on who you ask. GPS reports range from 18-23 miles. I’d say to mentally prepare for 23 miles (37 km) with ~5,500 feet (1,675 meters) of elevation gain if you’re doing the point-to-point hike. If your device ends up showing less, great!
- Highest point: 7,841 feet at Aasgard Pass
- Why you should hike this trail: one of the country’s, and arguably the world’s, most pristine alpine environments. Stunning lake after lake after lake with jagged peaks all around.
- Fee or permit? Yes, any of these will do: National Forest Recreation Pass, America The Beautiful Pass, or self-issued $5 pass at the trailhead
- Best time of year: July-October. There will be lots of snow in other months, and while larch madness is stunning in October, you could get hit with lots of snow then, too.
Tips for the Enchantments hike
- You need a permit to camp or have to hike it all in one day with a self-issued permit at the trailhead.
- You need a National Forest Recreation Pass or America The Beautiful Pass, too. This comes with a camping permit or you can buy it at the trailhead for $5 per day (honor system – do the right thing).
- Get an early start (5 or 6 am) both for parking and to make sure there’s enough time to do what you have planned.
- A water filter is a must – there are endless opportunities to fill up and you will need more water than you should be willing to carry. Save yourself the pounds of water weight in a pack and refill.
- Don’t miss Mist Pond (right off the trail) and Gnome Tarn (adds about a mile but worth it). Details below.
- Have a GPS of some sort. Having the trail downloaded on the Gaia app (don’t rely on cell service – you need the paid version for offline access) was invaluable for us at multiple times, especially to get to Gnome Tarn.
- Don’t underestimate the stretch from Lake Viviane to the Snow Lakes Trailhead. Again, mentally prepare for the worst because it seems to take forever and it’s boring (compared to what you’ll have already seen). Take headphones, plan a game to play to pass the time, or have some conversation topics in mind.
- There are primitive toilets spread out throughout the entire trail.
You have 2 options for hiking the Enchantments
Option 1: win the permit lottery to camp between May 15 and October 31. All overnights in that timeframe require a permit and there’s less than a 2% success rate because there are very few available. There are 5 zones to camp in but you really want the Core Enchantments. Otherwise you’ll be doing thousands of feet of elevation gain and loss each day to get there. Colchuck and Snow zones are the next-best as they flank the Core zone, and the other 2 (Stuart and Eightmile) are pretty far from the core. Beautiful places, but the core is the main attraction. You can apply for the lottery during the second half of February on recreation.gov – they usually have a day-of walk-up lottery as well, but that’s been suspended since 2019 due to Covid.
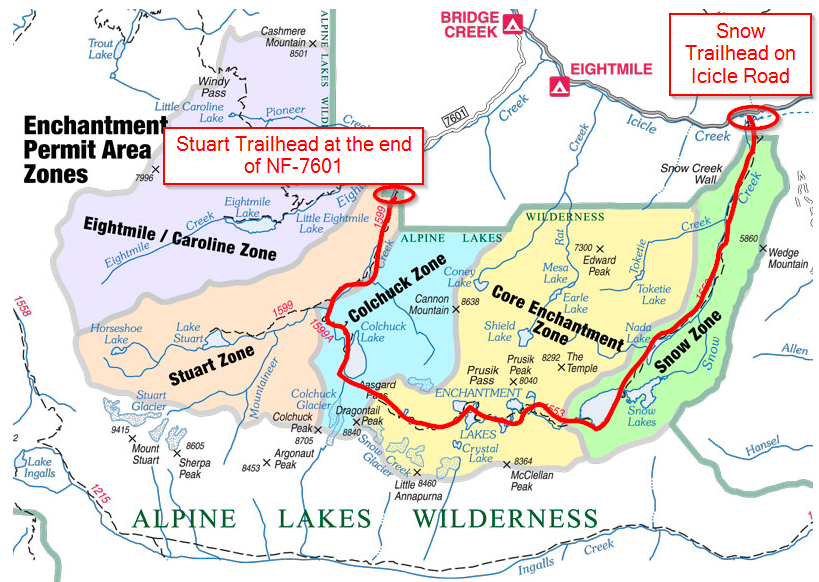
Option 2: hike it all in 1 day. You can do the Enchantments hike as a thru-hike in one day. However, since there are different trailheads that are 30 mins apart by car, you need to arrange some sort of transportation. You have 3 options:
- Take a shuttle. You can park at the Snow Lake trailhead and pay for a shuttle to the Stuart trailhead (2 companies offer this service: Leavenworth Shuttle or Loop Connector – can schedule in advance with pickups at Snow starting at 5 am or hope they’re available day-of). Leavenworth Shuttle also offers pickup from Snow in the evening to take you back to Stuart, but I’d call ahead to make sure that’s still an option. It’s not ideal because when you’re done with this hike, you want to hop in your car and head back to Leavenworth for a huge meal as soon as possible.
- Hitchhike. This is not uncommon and you can try to catch a ride from Snow Lakes Trailhead in the morning or after the hike in the evening.
- Stage 2 cars. The least attractive option. Drop one off at Snow Lakes Trailhead and take the other to the Stuart Lake Trailhead to start the hike. Lots of time at the beginning and at the end with this option.
You may also need to do one of the above if you are camping. Or, you could park at Stuart and explore the Snow Zone (or skip it) during one of the free days and return back the way you came.
You may notice every mention of starting the Enchantments hike is from the Stuart Trailhead. That’s because there is over 7,000 feet of elevation gain if you hike from Snow to Stuart. Doable, but I don’t know why you would. I also wouldn’t say hiking from Stuart to Lake Viviane (the end of the Core Zone) and back is out of the question. Then you don’t have to worry about arranging transportation, you get to experience the best parts of the hike (Core and Colchuck Lake) twice, and you don’t have the “boring” stretch through the Snow Zone. I really think I’d turn around at Viviane if I did the hike again. It adds a couple miles but I think it’d be worth it for those reasons.
As for the hike itself…
The rest of the Hike Guide is for starting at the Stuart Trailhead and hiking all the way to the Snow Lakes Trailhead. A good way to break it down is into these 4 sections:
- Trailhead to Colchuck Lake
- Around Colchuck and up Aasgard Pass
- The Core Enchantments
- Your penalty for getting to experience such beauty: the long slog descending through the Snow Zone
The first 2.5 miles are steadily uphill through the forest with forest views. If you’re starting out before first light, which is a good idea, have a headlamp. I recommend trying to go fast through this part – honestly assess your abilities, however, so you don’t burn yourself out.
Not much to report in this stretch other than make sure you hang a left at the trail split (just under 2.5 miles from trailhead). You shouldn’t miss it as there is a sign that points you to the left for Colchuck and straight for Stuart Lake. After that left, you’ll then cross a bridge and come right upon the edge of a boulder field. Hang a right immediately after the bridge instead of climbing the boulders. This is where a GPS can really come in handy. After another 1.75 miles or so of uphill hiking you’ll get your first glimpse of Colchuck Lake. And what a reward it is.
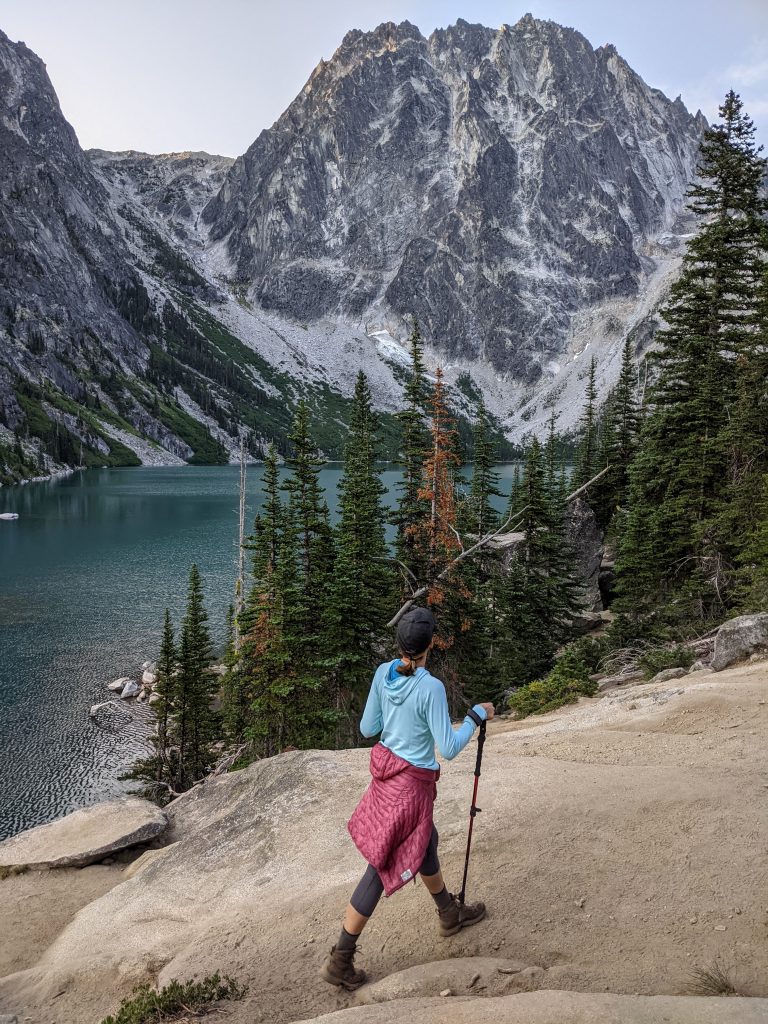
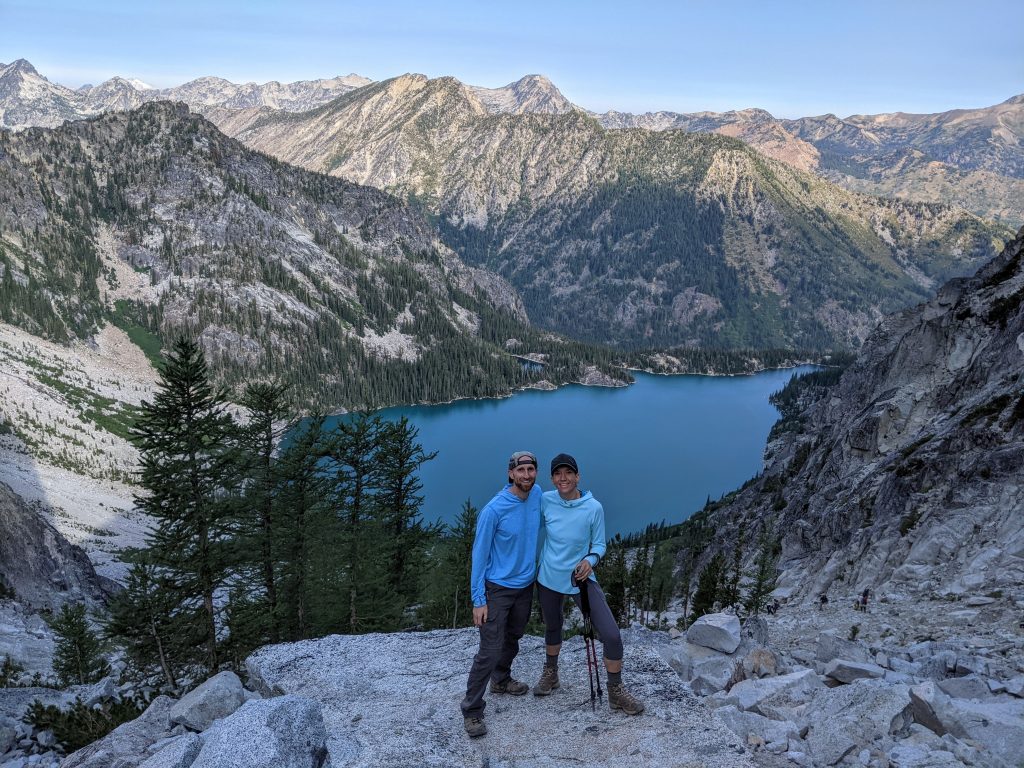
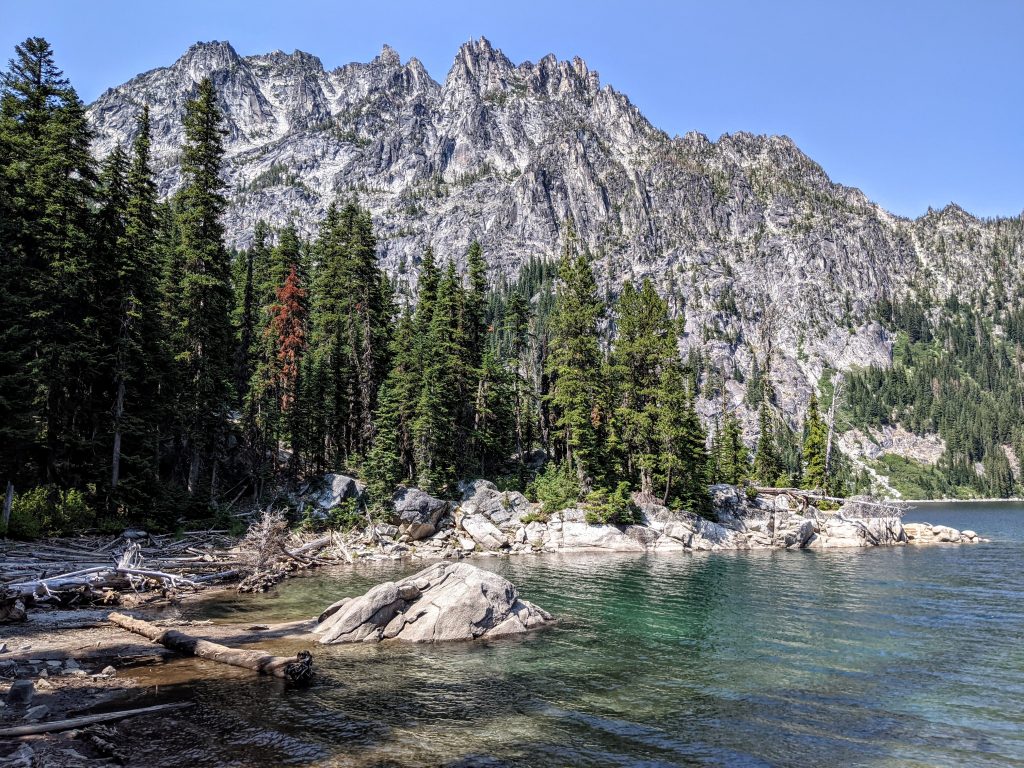
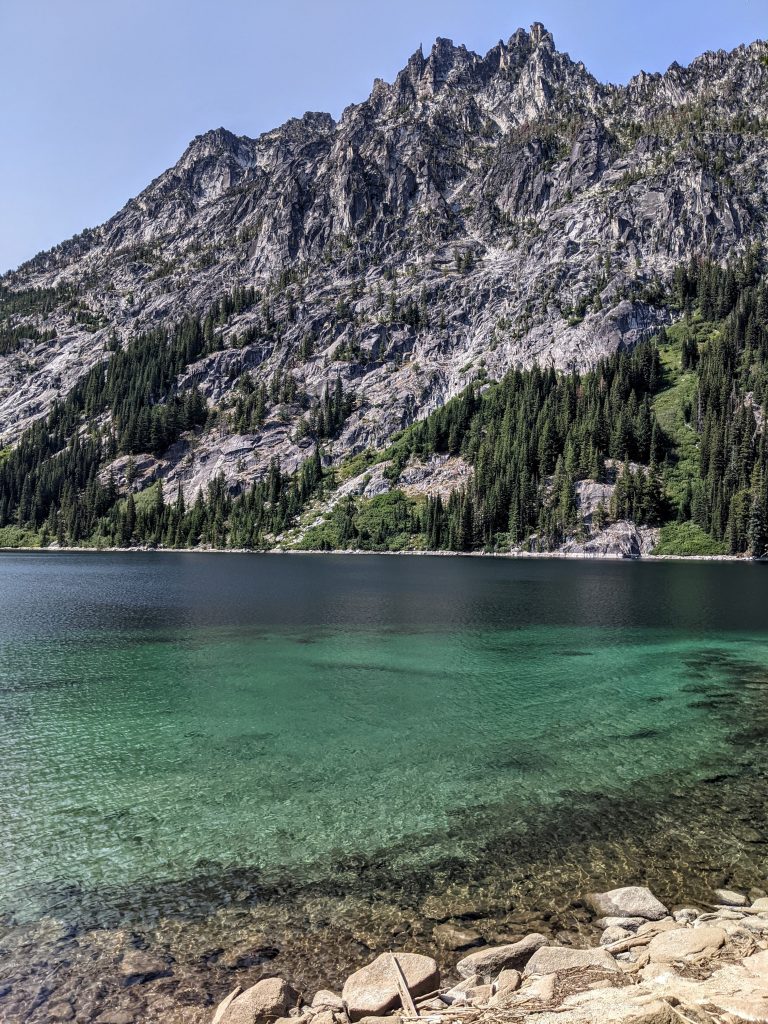
You’ll have gone about 4.25 miles and ascended 2,000 feet when you get to Colchuck. Next is a counter-clockwise walk around the lake and then up what most people consider the hardest part of the hike: a 2,000 foot climb in about 1 mile to Aasgard Pass.
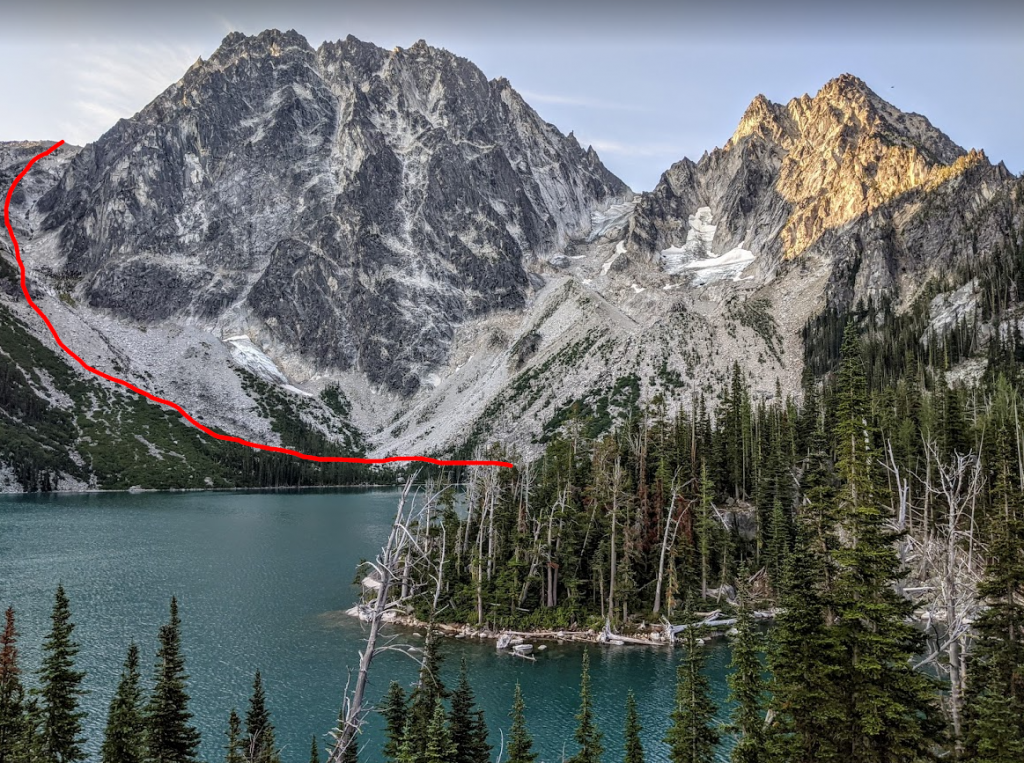
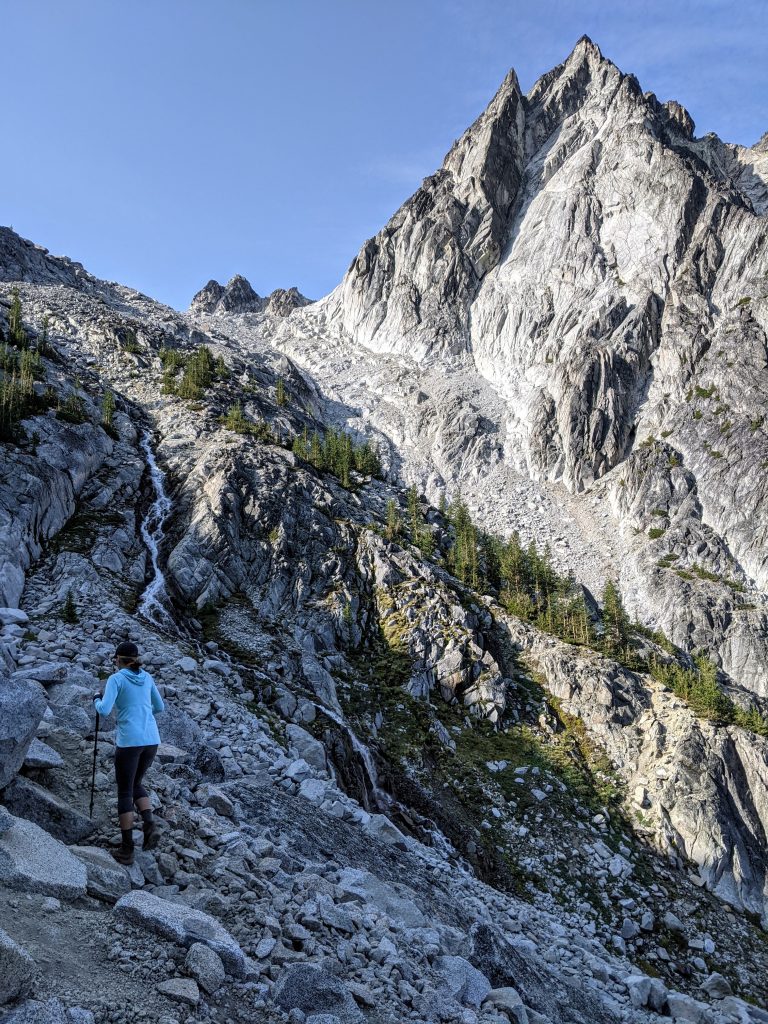
There are cairns to guide you up to the pass, but generally you want to stay to the left when heading up the steep portion. There’s a section of trees towards the top and a waterfall – stay to the left of both of them until the cairns guide you to safely navigate up and to the right. Make sure to turn around and see how Colchuck changes on your way up.
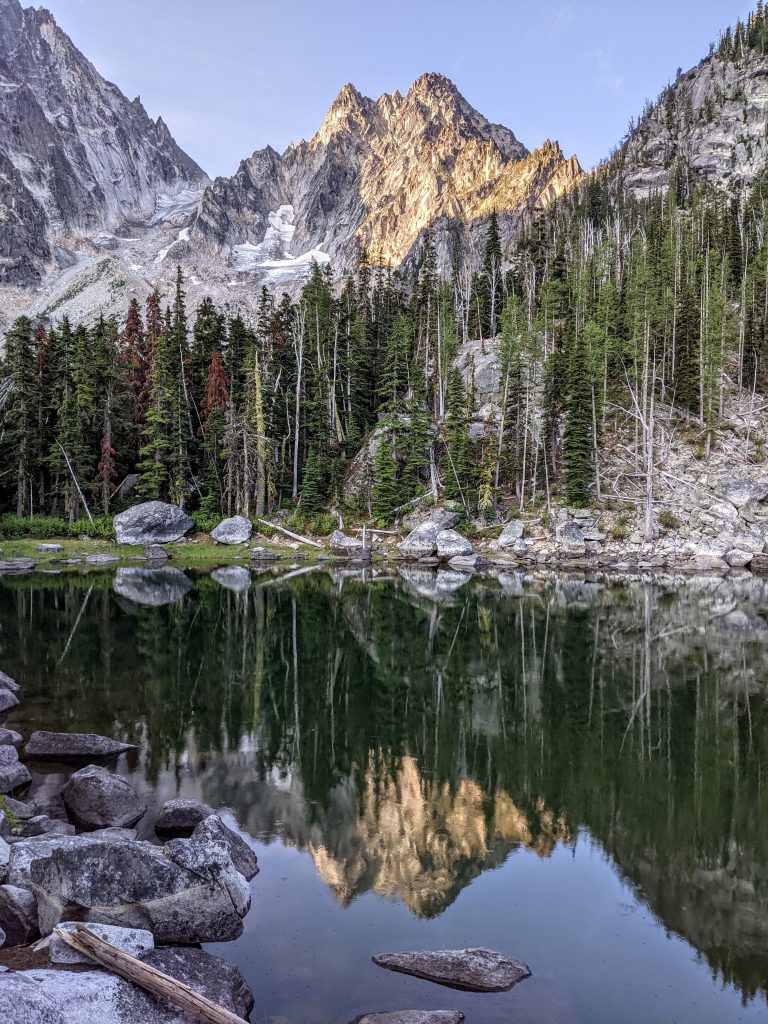
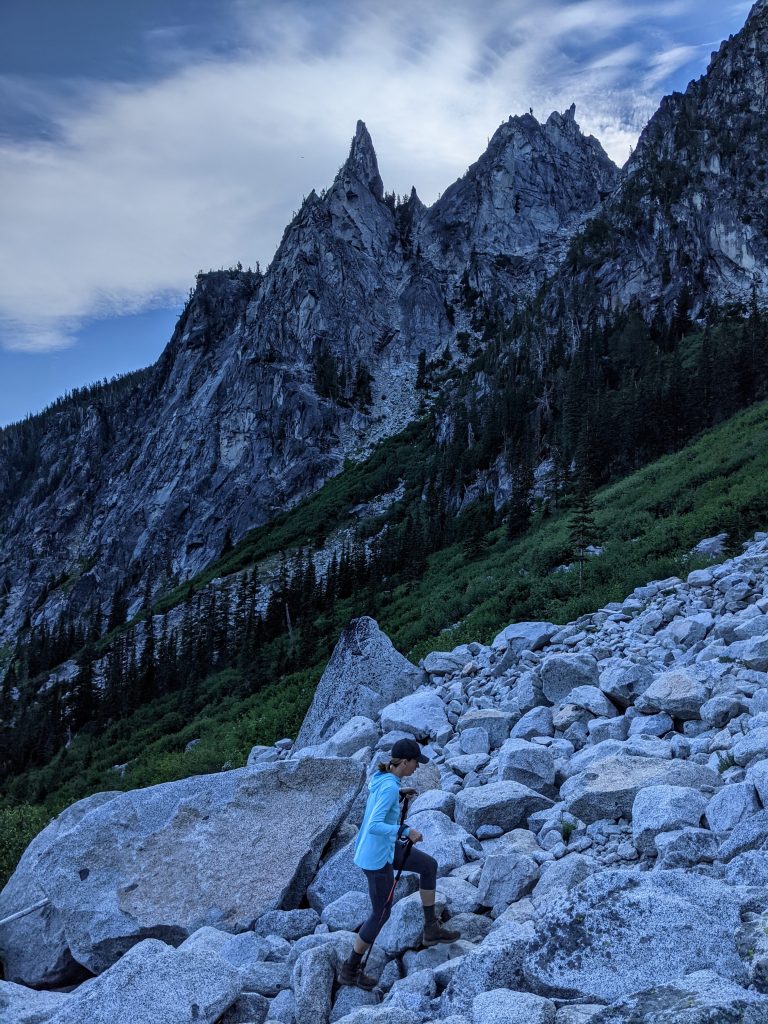
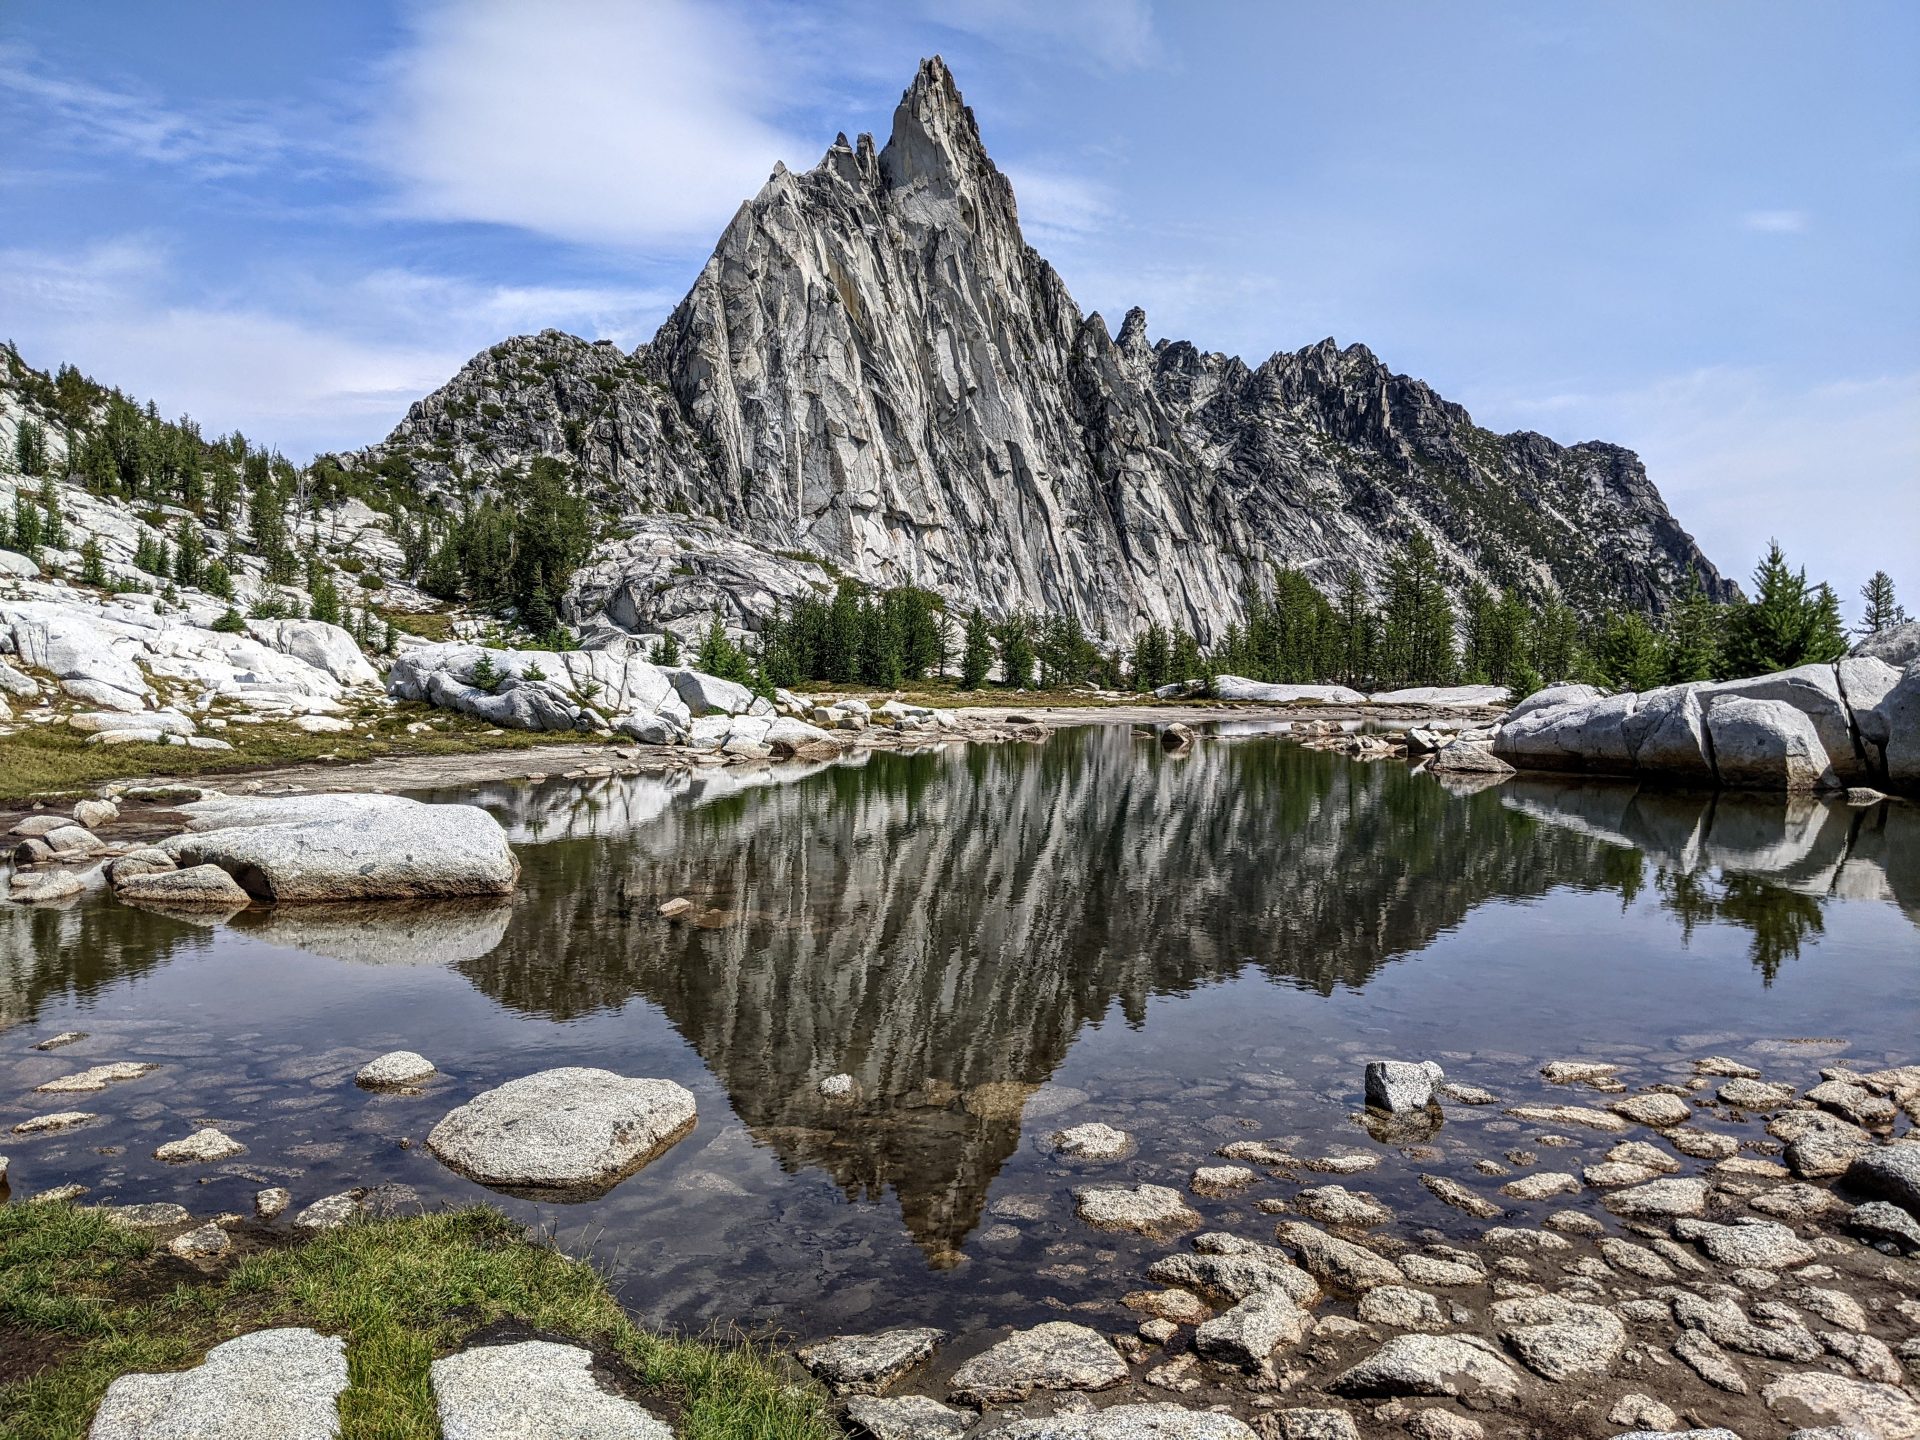
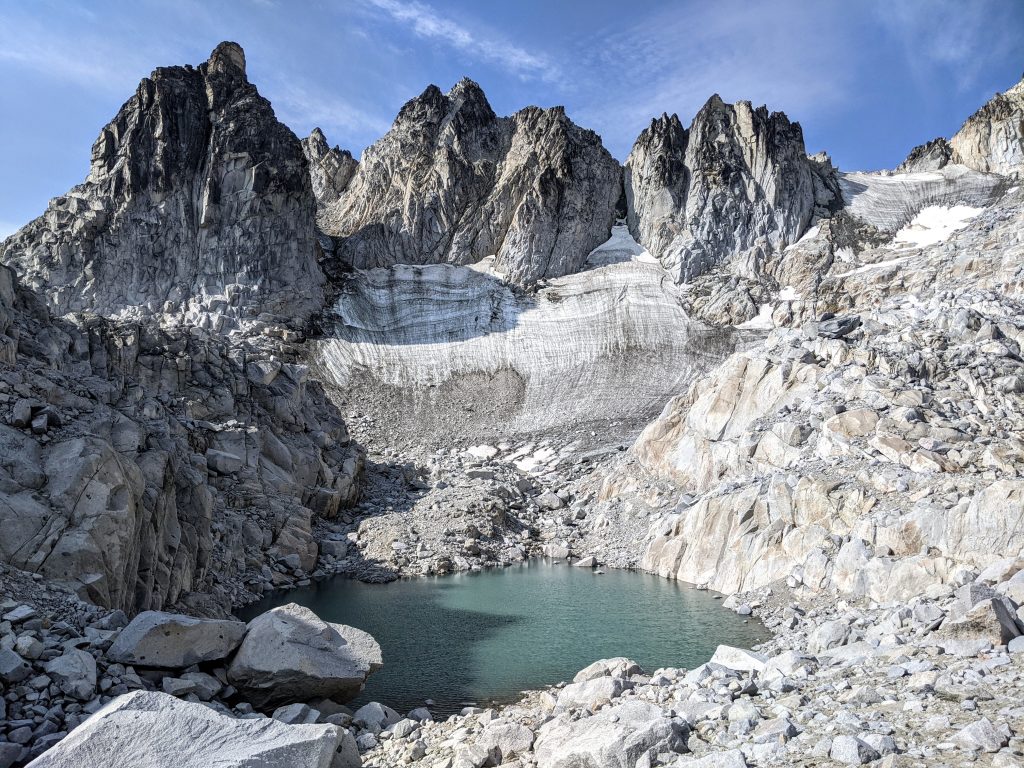
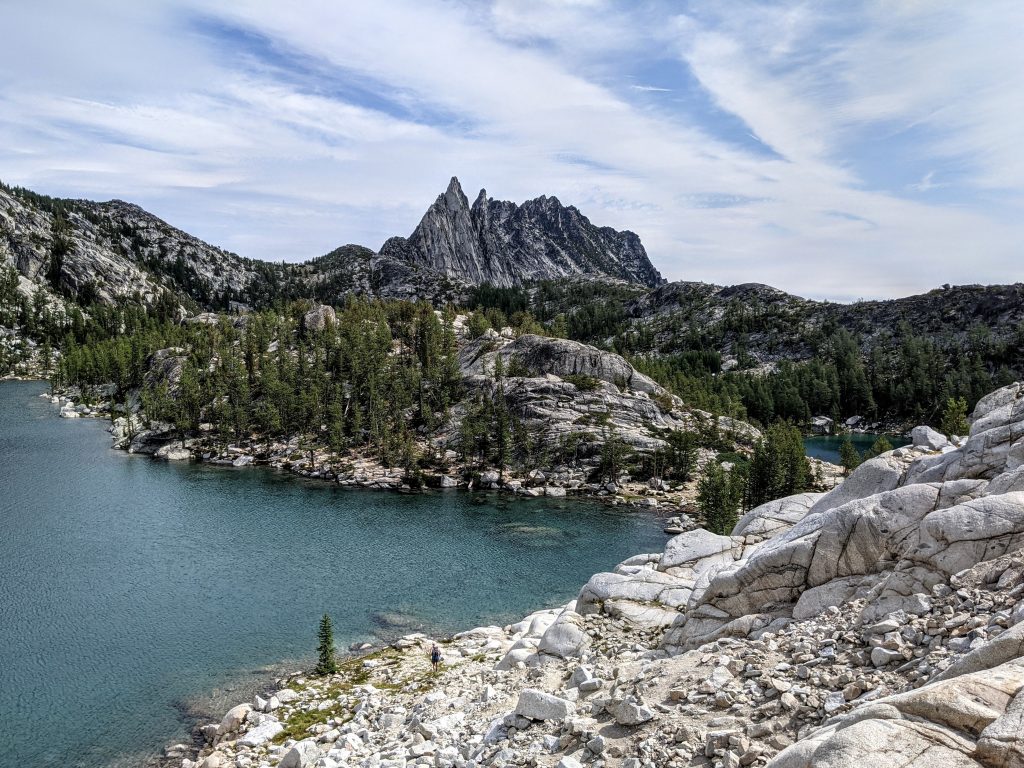
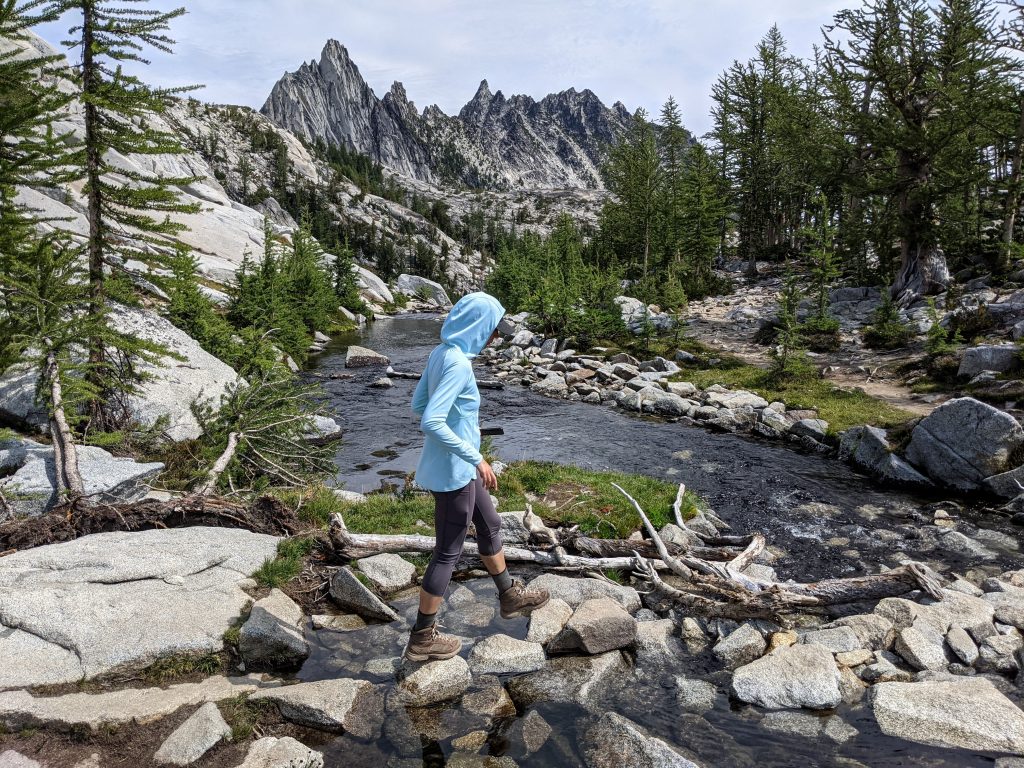
Once you approach the top of the pass, be on the lookout to your right for the distinctive peaks in the picture below. You may not see Mist Pond from the trail, but just a few steps to your right when the peaks are in view and you’ll see it. This is another area where having a GPS is helpful as you can track it the whole way up so you don’t waste any steps by having to backtrack.
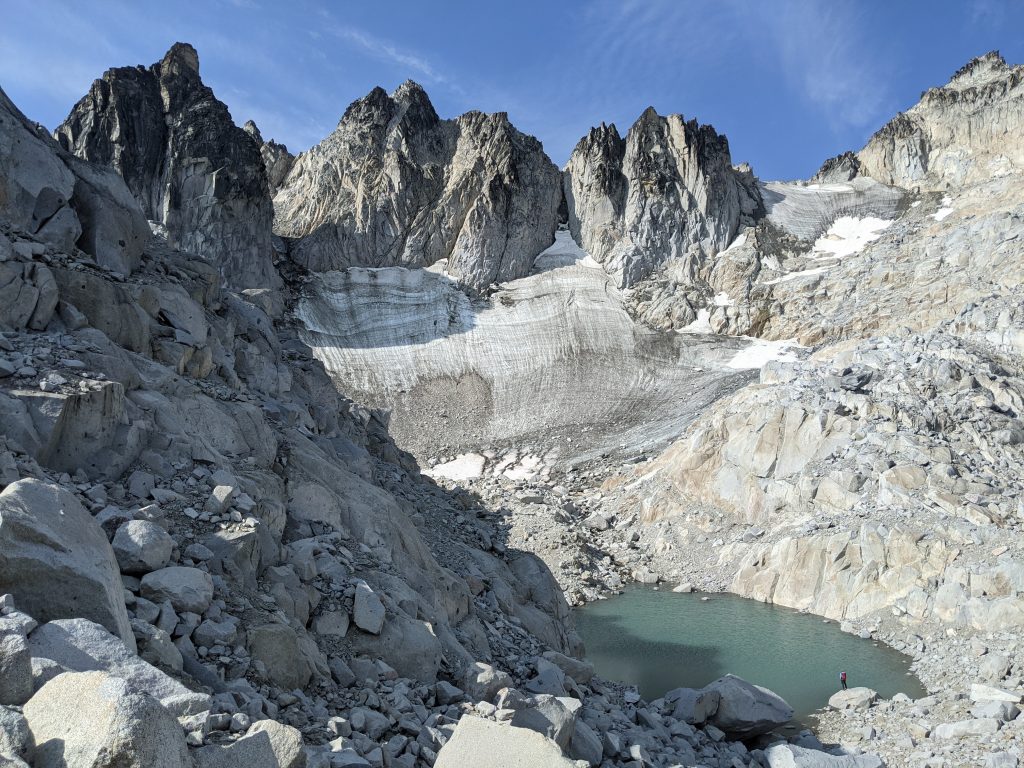
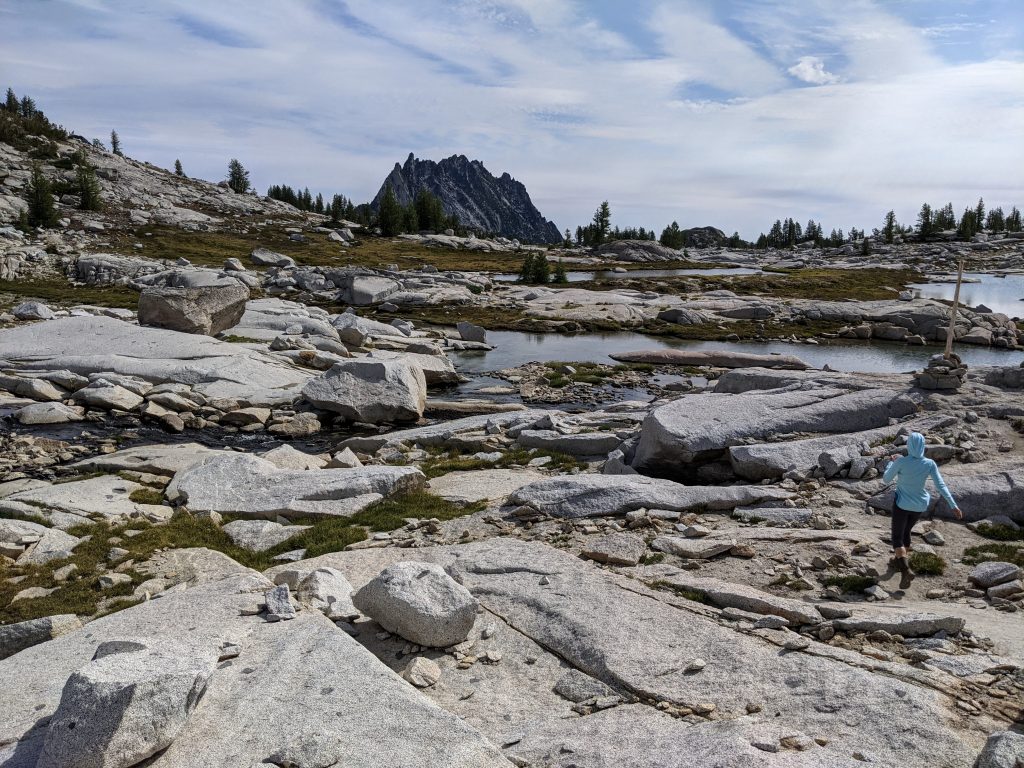
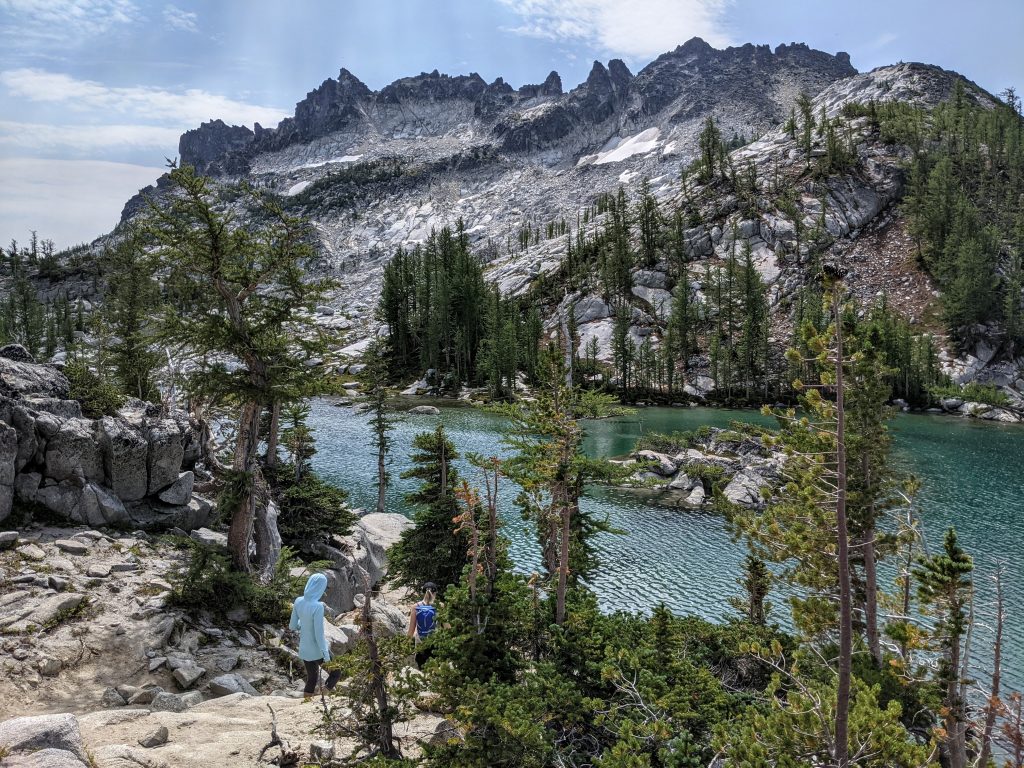
Mist Pond is a great introduction to the best part of the Enchantments hike: the Core Zone. It starts now that Aasgard Pass is behind you. The path through the Core is mostly easy to follow and there are cairns to keep you on the trail as you wind through the many lakes.
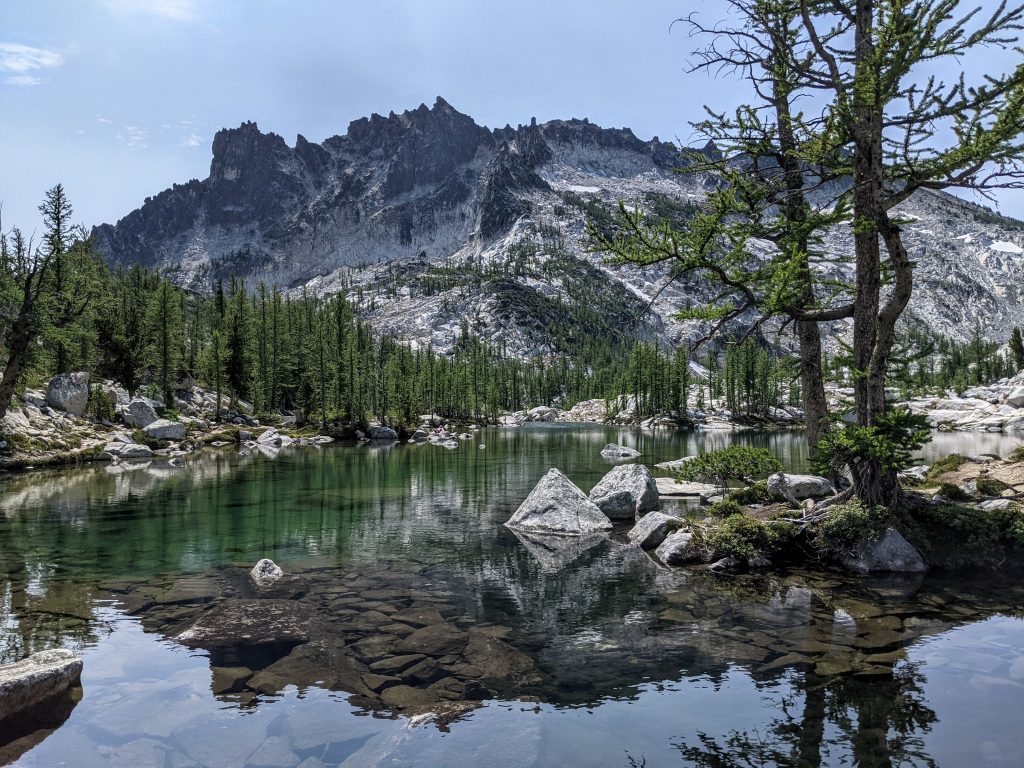
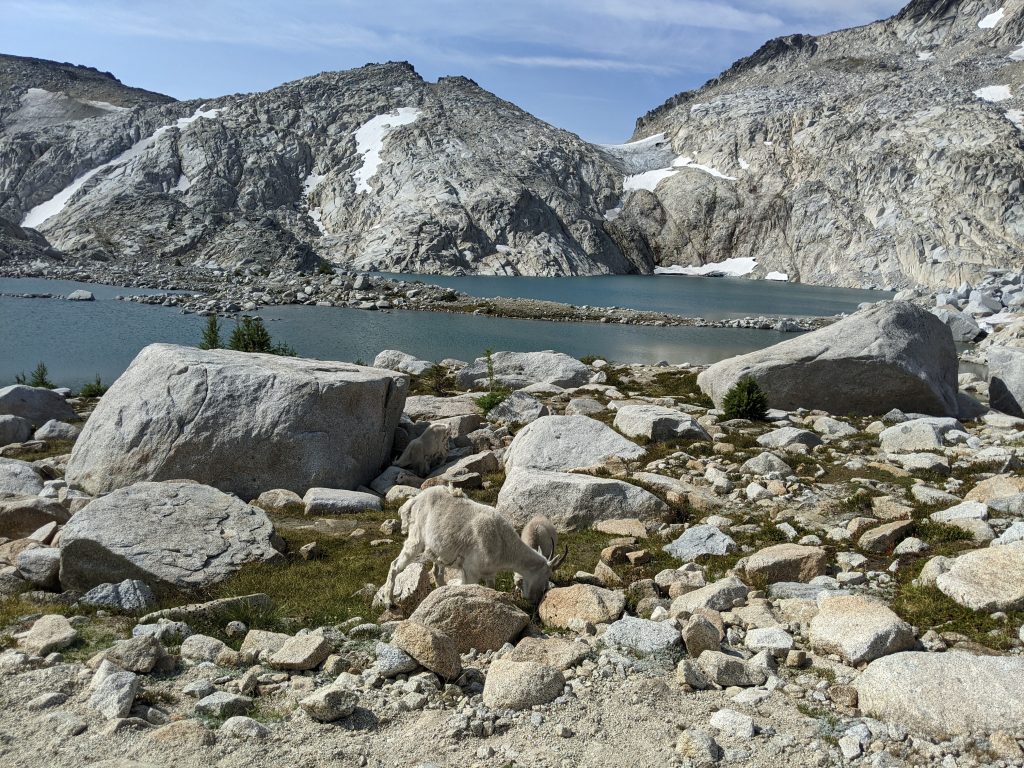
You won’t miss any of the main lakes in the Core Zone: the trail goes around all of them, so I would say just follow the cairns and enjoy the views. The first few lakes aren’t the most picturesque but as soon as you see Prusik Peak you know you’re about to witness views that will awe you. You’ll most likely see mountain goats, too. They and you should stay away, but they can get aggressive. If one charges at you, yell, wave, or throw rocks to hopefully get them to back off.
There are several spur trails throughout the Core that people who are camping can take the time to explore, but for the most part you’ll want to stick to the main trail unless you’re really moving fast.
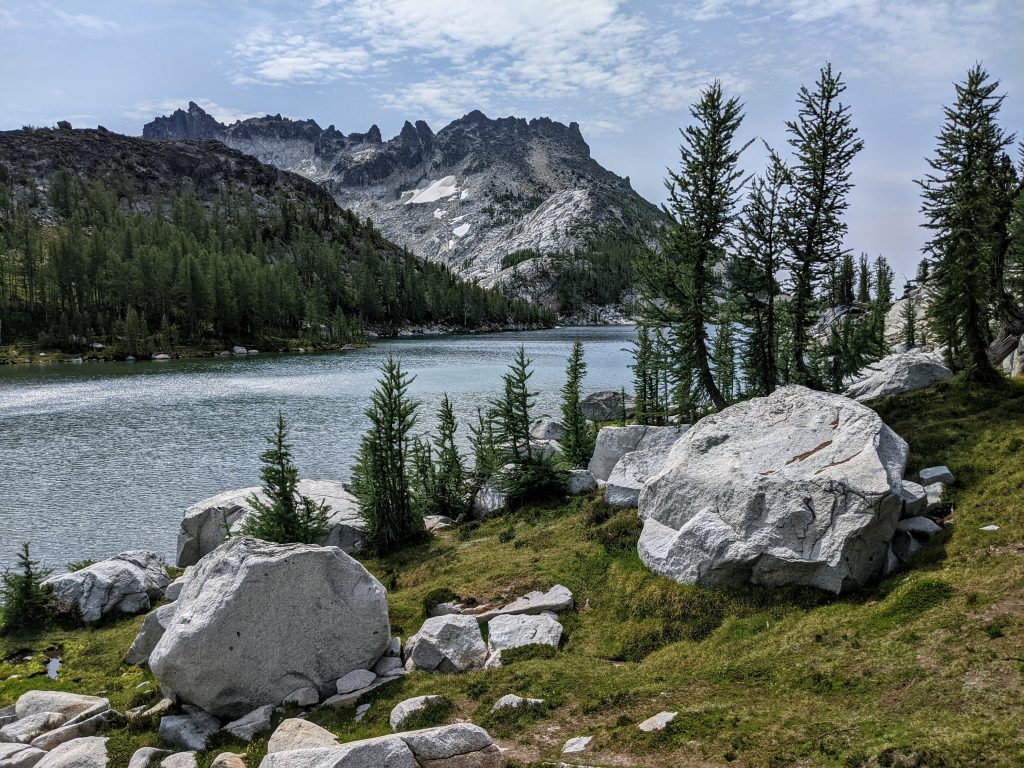
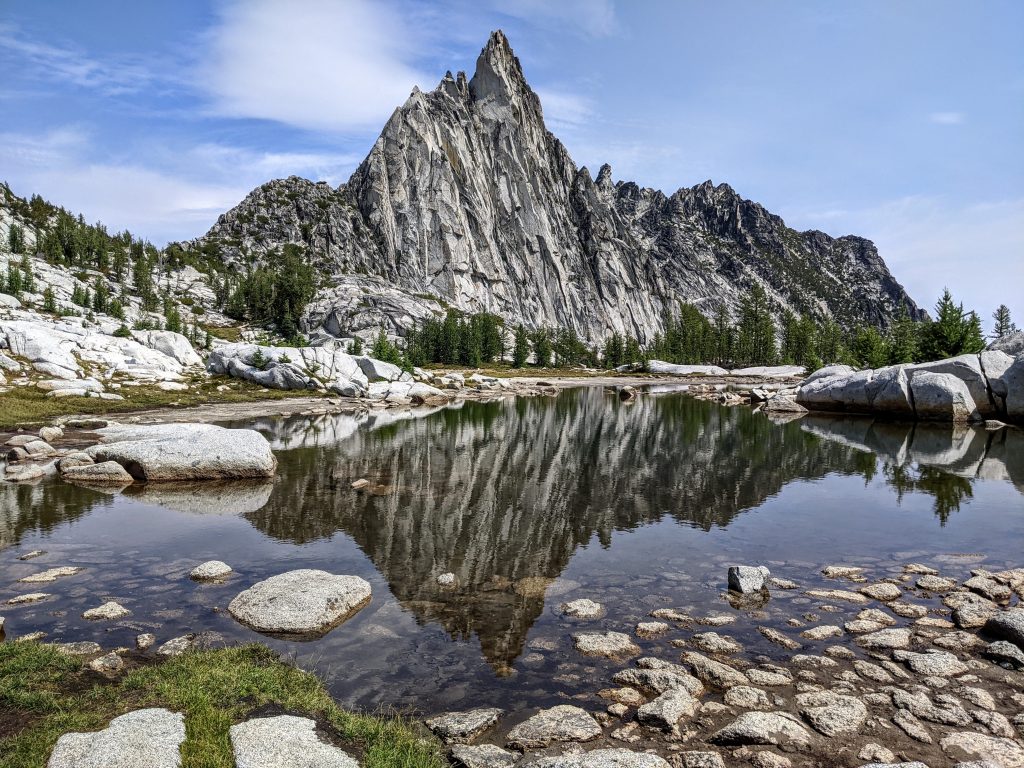
I took about a one-mile detour to Gnome Tarn, which the Gaia app led me to. There’s no way I would have found it without the app. This is a very small body of water that yields a perfect reflection of Prusik Peak. Highly recommend if you can tack it on. It is more elevation gain, more mileage, and a little tough to find, though. The easiest way is to take a very faint trail to the left as you’re passing by Leprechaun Lake. Again, the app will show you exactly where that is and how to get there. Favorite view from the Enchantments hike.
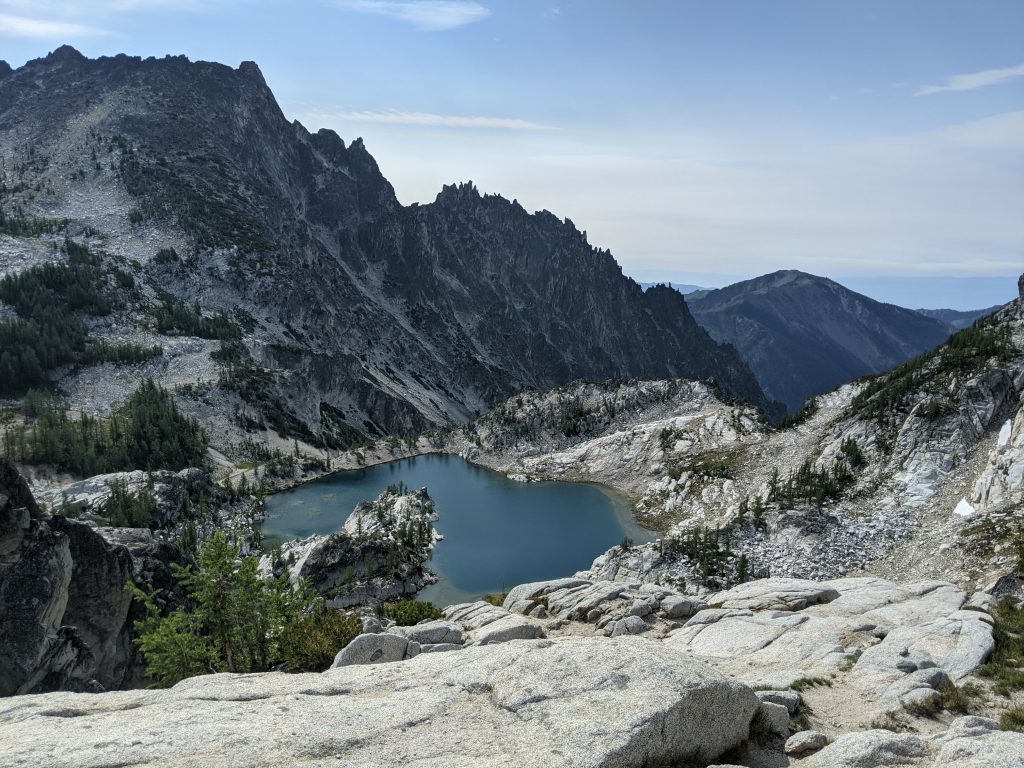
Leprechaun Lake and Lake Viviane are the last 2 lakes, respectively, in the Core Zone. Fill up your water at Viviane and start the long trek to Snow Lakes.
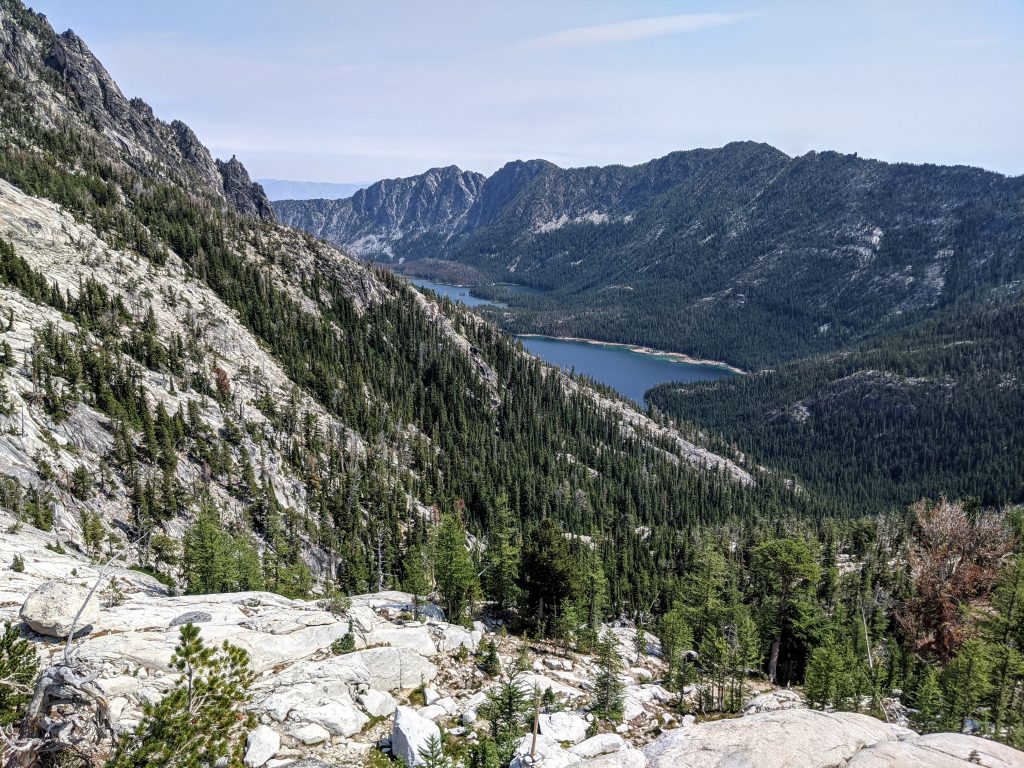
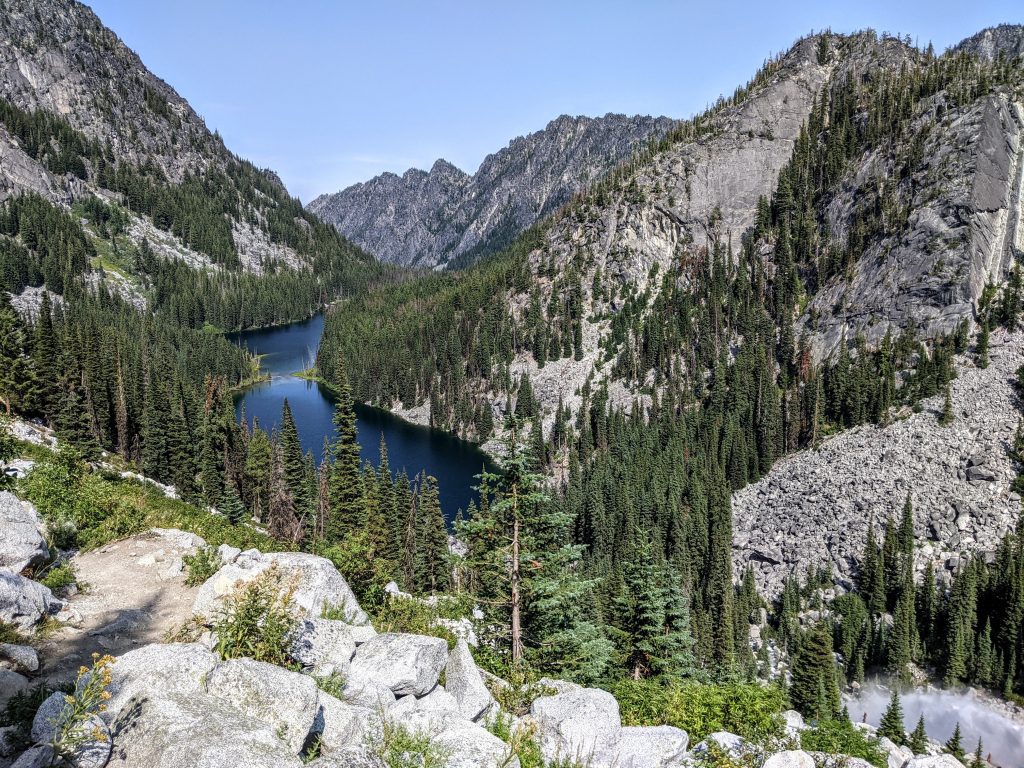
You’ll pass to the right of Upper Snow Lake, between Upper and Lower Lakes, and then around the left side of Nada Lake. There are lots of campsites and side trails in this area and it’s easy to get on the wrong one. Another area where we needed the app to show us the right way. There are some beautiful views along these lakes. Soak them up because there isn’t much after them but hours and hours of descent. Much of it without any shade.
Eventually you’ll see the Snow Lakes Trailhead and parking lot from high above. There are a series of switchbacks to get you there. You might/should have cell service here and can call the shuttle when the trailhead is in view, if that’s how you’re getting back to your car at Stuart.
It’s a 10 minute drive from Snow Lakes Trailhead to Leavenworth (about 40 for Stuart to Leavenworth). Most restaurants close at 8 or 9. If you have time, Blewett Brewing Company is a fantastic option for great pizza and beer afterwards.
Why didn’t I put anything at the beginning about how long it takes to do the day hike?
I don’t think posting a wide range of hours is very helpful. There are so many variables for the Enchantments hike that it doesn’t feel right suggesting how long it will take. For example: some people want to take a dip in one or more of the lakes; some take long breaks; some want to capture as many photos as possible; some might want to do spur trails.
I can tell you that we started at 5:30 am and it took us just under 12.5 hours. I take a lot of pictures, did the extra bit to Gnome Tarn, and we took breaks to eat at the top of Aasgard Pass and at Lake Viviane. There were some areas where we were going very fast (1 hr 45 mins to Colchuck) and others where I wanted to go faster (almost 5 hours for the descent from Viviane to Snow Trailhead). I even wish we spent more time at Colchuck Lake.
The very first thing in this guide is to plan ahead and prepare. If you’re reading this far into the guide, then you’re taking it seriously and I applaud you. Hopefully if you’re going to attempt this hike in one day then you are confident you’re physically able to and have some idea of how long it’ll take you. We figured it would take us around 11 hours, but it ended up taking longer. It’s 20+ miles and over 5,000 feet of elevation gain and no joke. This isn’t meant to dissuade you; this is meant to make sure you’re safe and prepared. Please leave a comment below if I can help you plan for the Enchantments hike in any way!
Leave a reply